Because the name of the columns are the key under which the data will be imported to Synerise or appear in the output file, you can change them to meet the requirements by using the Rename Column node.
In the settings of this node, you must select the columns that will be renamed. You can do this by selecting particular columns or you can create a condition that the column names must meet in order for the transformation to be performed on them, for example, the column name must start with the letter "A".
Dynamic conditions are especially helpful when using a JSON file as a sample in the "Data Input" node. When a JSON file contains an object deeper than the root object, its items will be transferred to the Data Input node as separate columns named {object}.{parameter}. When choosing columns manually, you can't add those new columns from a JSON list to the transformation. Dynamic conditions can be set up to include those columns, for example by including columns whose name includes the name of the object they were created from.
Node configuration
- Click Add rule.
Select one of the Include options, by clicking the
 icon next to these:
 - these - it is a default option, if you leave it, the columns you select will be renamed as you specify in the further configuration.
- all except these - this option excludes renaming the columns you select, as a result the rest of the columns will be renamed as defined in the further steps.
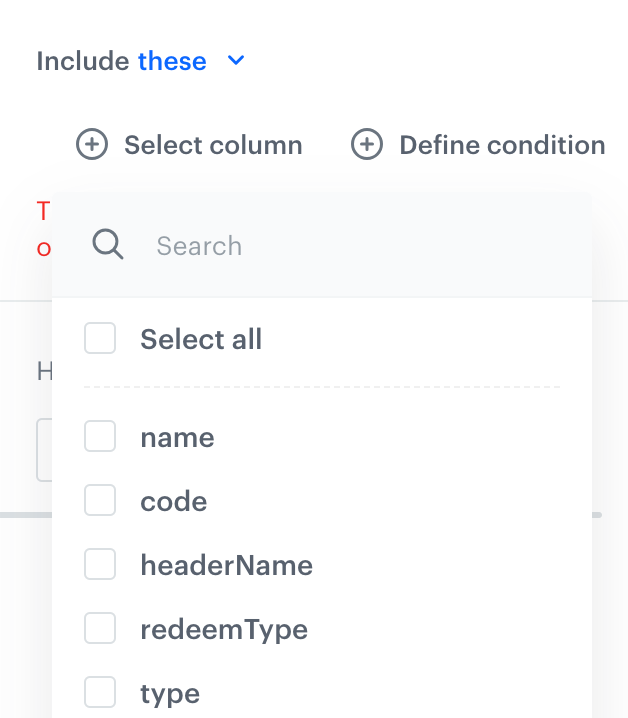
Select columns to include/exclude (according to the Include setting above) in one of the following ways:
- Select column - from the dropdown list, you can select the columns to be included or excluded from the transformation.
- Define conditions - you can create a dynamic condition which columns must meet to change their names; for this purpose, you can use logical operators such as contain, starts with, ends with, and so on.
You can't combine dynamic conditions with the Include all except these option.
For further instructions, select one of the tabs below, depending on the option you have chosen in step 3.
Select column option - From the dropdown list, select the first column to be renamed.
- To add more columns, click
 icon.
icon. - In the Edit values by field, select one from the following options:
- Replacing - Select this option if you want to entirely change the column name, for example, from
typetopromotion_typeas a new column name. - Adding prefix - Select this option if you want to add a group of letters at the beginning of a column name, for example, applying a
promotionprefix to theNamecolumn transforms it into inpromotionNameas a new column name. - Adding suffix - Select this option if you want to add a group of letters to the end of a column name, for example, applying a
.promotionsuffix to thecodecolumn transforms it into incode.promotionas a new column name.
- Replacing - Select this option if you want to entirely change the column name, for example, from
Define condition option - Select one of the following logical operators to define the conditions which column name must:
- Ends with - If a column name ends with a specified string, for example,
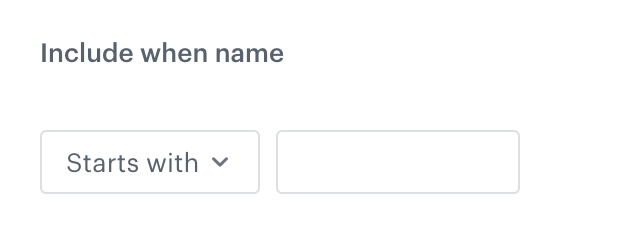
a, then the operation will be performed on the columns whose names end witha. - Starts with - If a column name starts with a specified string, for example,
pro, then the operation will be performed on the columns whose name starts withpro. - Contain - If a column name contains a specified string, for example
xyz, then the operation will be performed on the columns whose name containsxyz. - Not contain - If a column name doesn't contain a specified string, for example,
123, then the operation will be performed on the columns whose names doesn't contain123. - Regex - You can perform the operation on the column whose name matches the regular expression.
- Ends with - If a column name ends with a specified string, for example,
- To add more rules, click Add rule and repeat steps from 2 to 5.
- Before you save the settings, you can check the preview of the file after changes in the Output data tab.
- To define what happens if rows contain errors, select one of the options available in the Error handling section.
- Confirm the settings by clicking Apply.
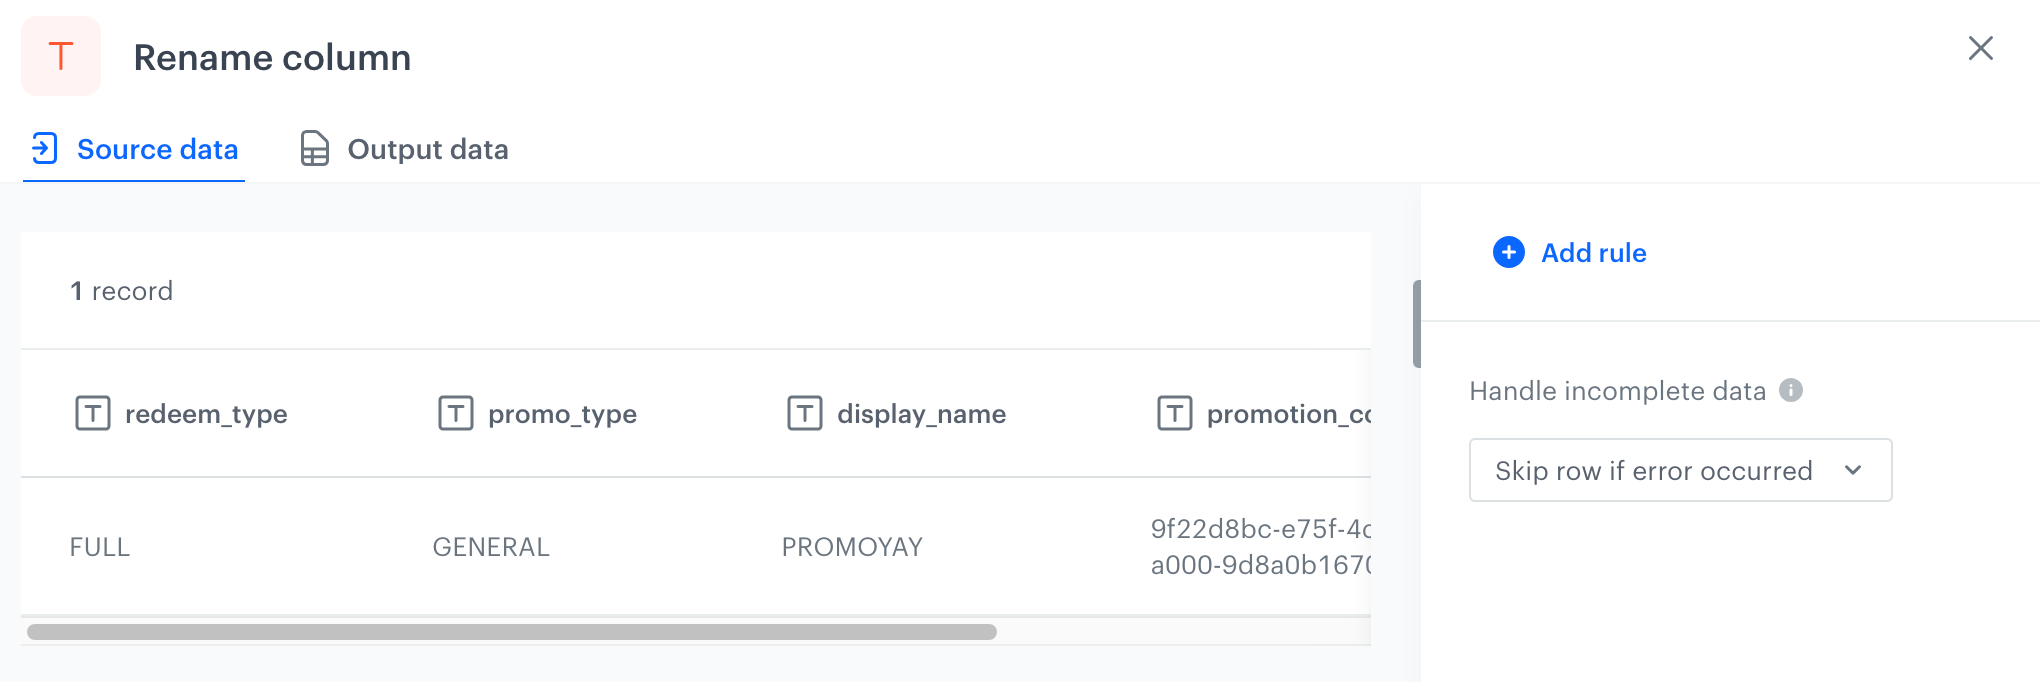
Handle errors
You can define what to do with failed values (for example, as a result of Jinja rendering or in other cases) in cells where data type modification failed. In the Handle incomplete data section, select one of the following options:
- Skip row if error occurred - It omits the row when an exception occurs.
- Skip if result is null or empty string - It omits rows with empty strings and
null(which may be the result of rendering Jinja) - Stop further transformation - The transformation stops at the row with an error. The data before the line that caused the error is transformed (and imported if the transformation rule is used in the Data Transformation node).
- Insert null if error occurred - Wrong values are replaced with
null. If you use such a transformation for the import of profiles, the existing value of an attribute is cleared and replaced with thenullvalue. - Insert empty string if error occurred - Wrong value is removed and the cell remains empty.
Example of use
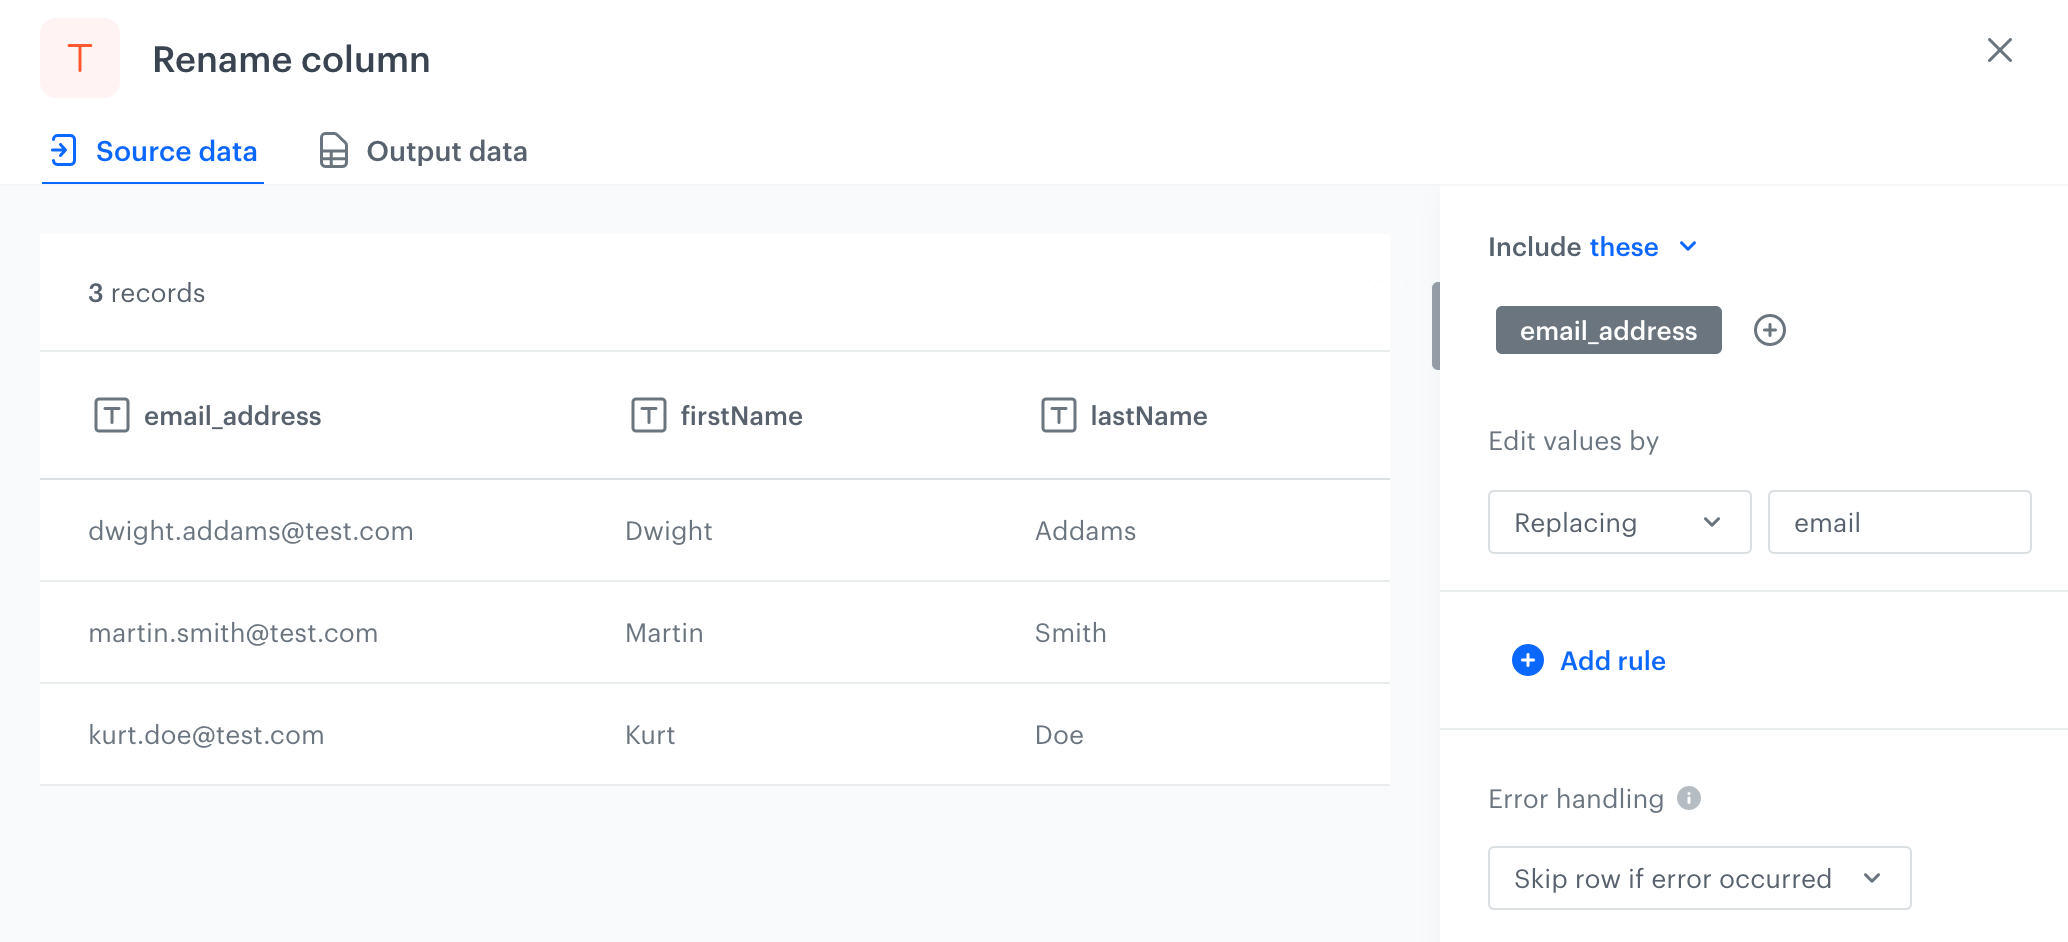
You can replace the email address column name with email, which is a required column name for Synerise imports. In result, the data from this column will be imported as the email attribute.
The sample file uploaded to the Input data node
name,surname,email_address Dwight,Addams,dwight.addams@test.com Martin,Smith,martin.smith@test.com Kurt,Doe,kurt.doe@test.com- As the first node add Data Input.
- In the configuration of the node, upload a sample file used to configure the transformation for later use and preview its results.
- As the next node, add a Rename column node.
- In the configuration of the node, change the column name from email_address to email.
Changed name of the email address column - As the last node, add Data Output.
Result: You receive a data file.