The Reorder columns node lets you change the order of the columns in a file.
By maintaining a standardized and consistent column order in the files, you ensure that the data can be easily exported into the inventory system without manual adjustments or errors.
This node can be used only with CSV files.
Node configuration
To use this node in a data transformation rule, go to Automation Hub > Data Transformation > New transformation.
Click Add input.
Select the file you want to transform and confirm by clicking Apply. You can find more information about adding input in the "Data Input" node article.
Add the Reorder columns node.
Open its settings by clicking the node.
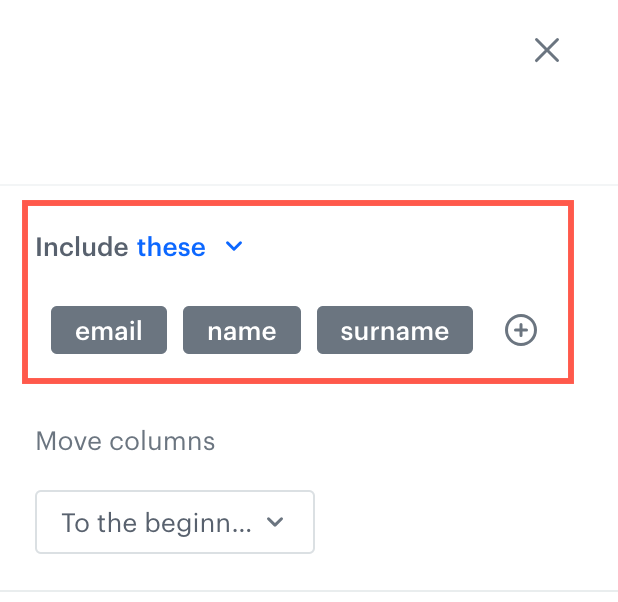
Click Add rule.
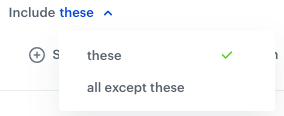
From the Include dropdown list, define if you want to create a rule which includes (the these option) the columns or excludes (the all except these option) the columns which meet the conditions defined in the rules. The Include option
Select columns to include/exclude (according to the Include option from the step before) from reordering in one of the following ways:
Select column - from the dropdown list, you can select the columns to be included or excluded from the transformation.
Add condition - you can create a dynamic condition which columns must meet to be reordered; for this purpose, you can use logical operators such as contain, starts with, ends with, and so on.
You can't combine dynamic conditions with the Include all except these option.
For further instructions, select one of the tabs below, depending on the option you have chosen in step 3.
From the dropdown list, select the first column that will be moved to a different position.
To change the position of more columns, click icon.
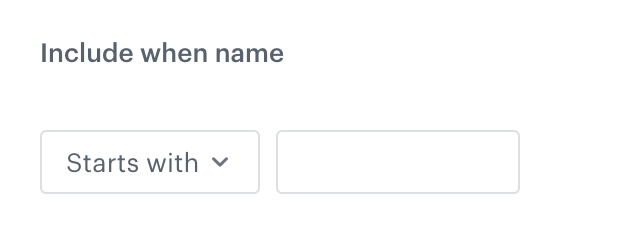
Define condition option
Select one of the following logical operators to define the conditions which the column name must meet:
Ends with - The column name must end with the phrase you enter.
Starts with - The column name must start with the phrase you enter.
Contain - The column name must contain the phrase you enter.
Not contain - The column name can't contain the phrase you enter.
Regex - The column name must match the regular expression you enter.
From the Move columns dropdown list, select one of the options below. If more than one column is selected/meets the rule, the columns will be in an order of adding it to the conditions, see example of use.
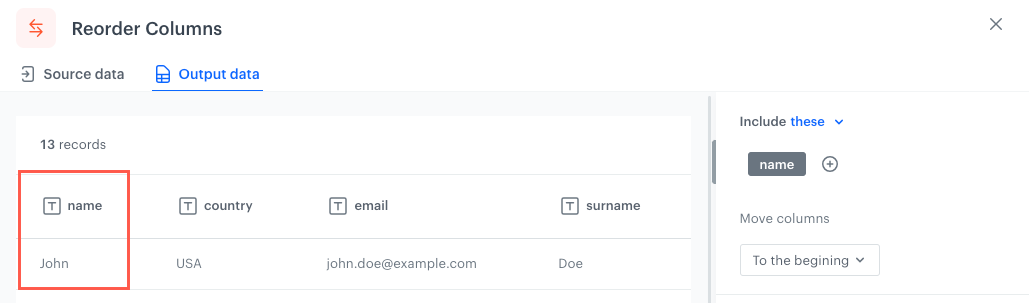
To the beginning - Selected columns/Columns which meet the conditions will be moved to the beginning of the file (far left).
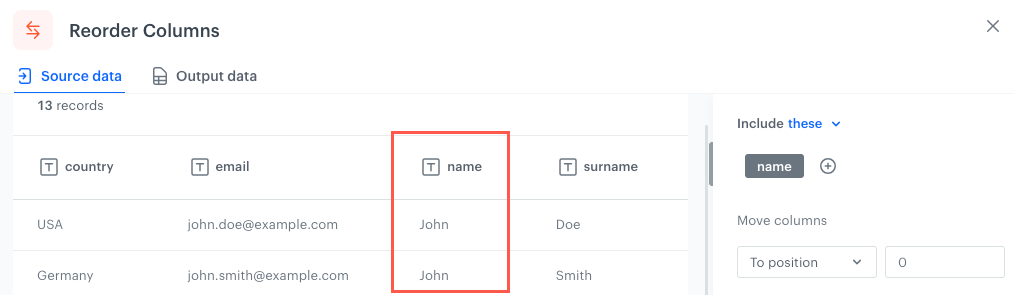
The original position of the column in an example file
The column reordered according to the To the beginning option
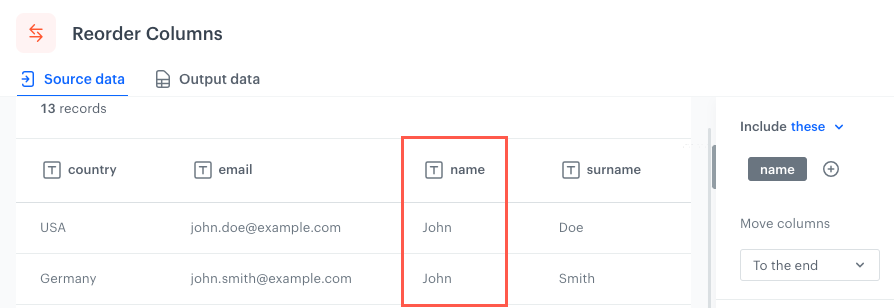
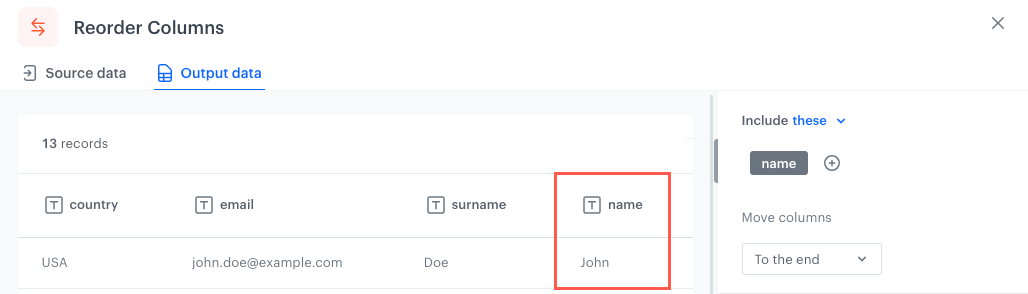
To the end - Selected columns/Columns which meet the conditions will be moved to the end of the file (far right).
The original position of the column in an example file
The column reordered according to the To the end option
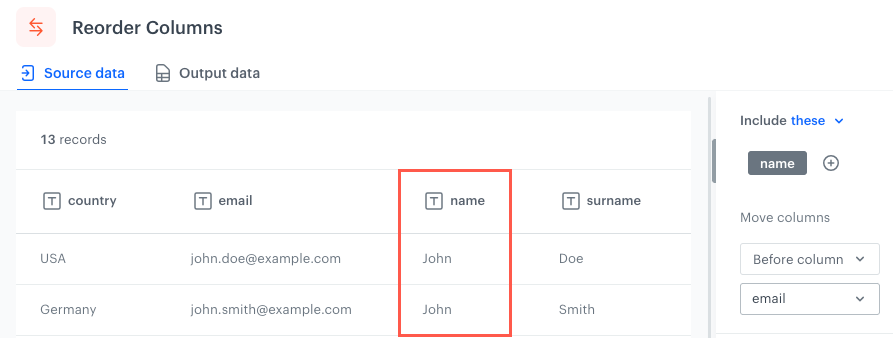
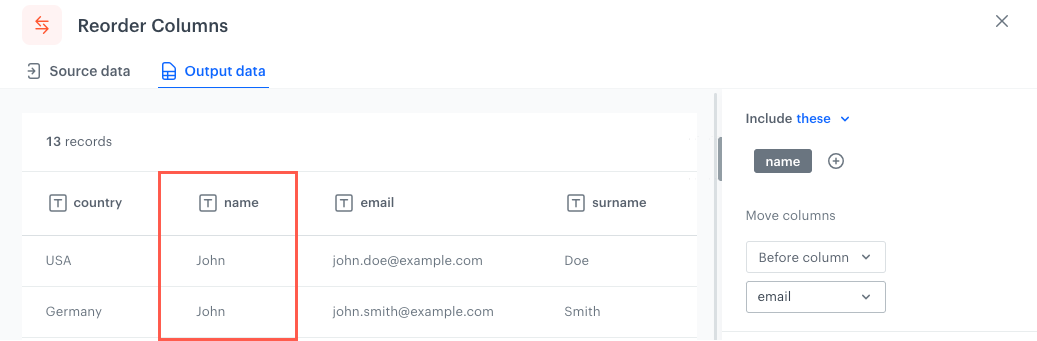
Before column - Selected columns/Columns which meet the conditions will be placed immediately before (to the left) the selected column.
The original position of the column in an example file
The column changes its place before the email column
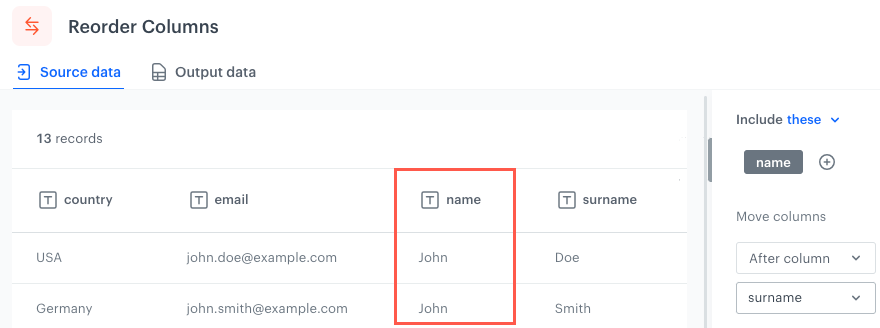
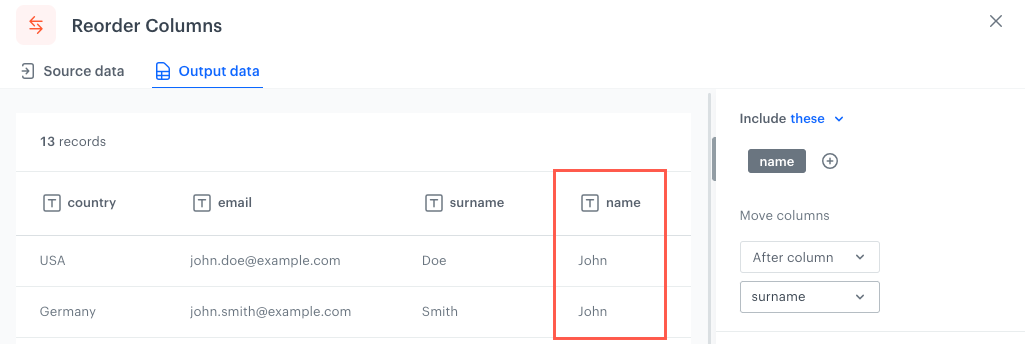
After column - Selected columns/Columns which meet the conditions will be placed immediately after (to the right) the selected column.
The original position of the column in an example file
The column reordered according to the After column option
To position - Selected columns/Columns which meet the conditions will be moved according to the position you indicate by a number.
The original position of the column in an example file
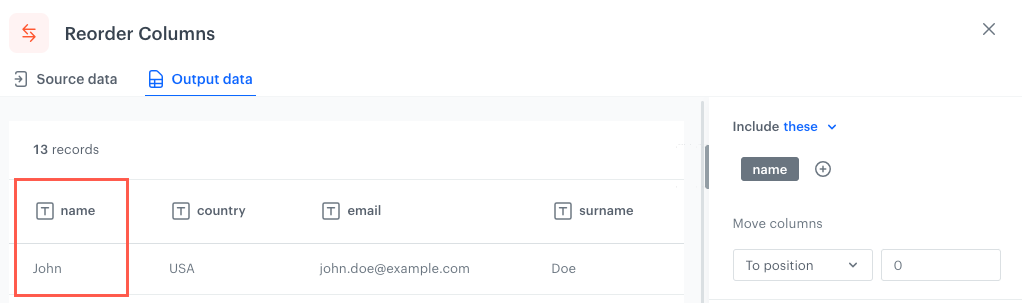
When you set the position to 0 The column reordered according to the To position option
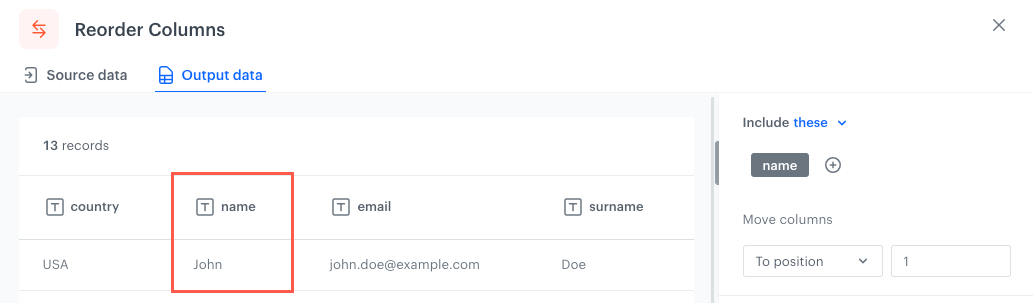
When you set the position to 1 The column reordered according to the To position option
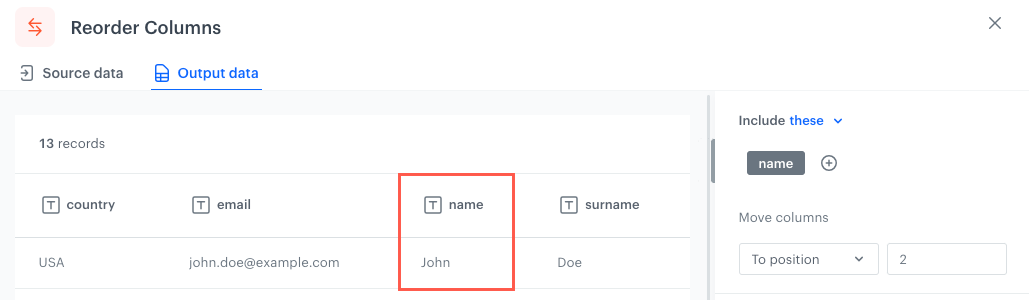
When you set the position to 2 The column reordered according to the To position option
To add more rules, click Add rule, and repeat steps 2-4. Rules are joined with the AND logical operator.
Confirm by clicking Apply.
Handle errors
You can define what to do with failed values (for example, as a result of Jinja rendering or in other cases) in cells where data type modification failed.
In the Handle incomplete data section, select one of the following options:
Skip row if error occurred - It omits the row when an exception occurs.
Skip if result is null or empty string - It omits rows with empty strings and null (which may be the result of rendering Jinja)
Stop further transformation - The transformation stops at the row with an error. The data before the line that caused the error is transformed (and imported if the transformation rule is used in the Data Transformation node).
Insert null if error occurred - Wrong values are replaced with null. If you use such a transformation for the import of profiles, the existing value of an attribute is cleared and replaced with the null value.
Insert empty string if error occurred - Wrong value is removed and the cell remains empty.
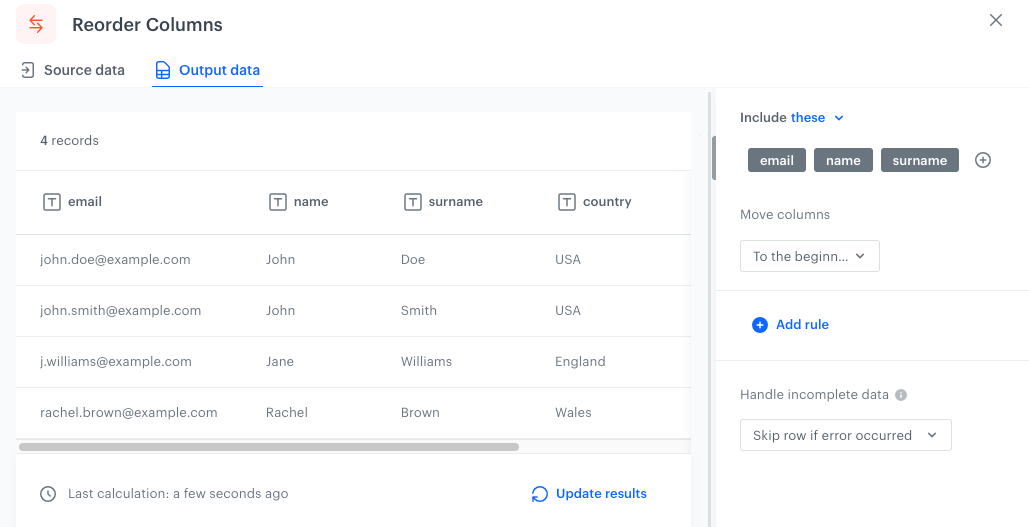
Example of use
In the following example, we will organize columns in a file so email, name, surname columns will be at the beginning of the file.
The initial state of the file is as follows:
 icon.
icon.