We recommend publishing data in Google Pub/Sub using the CloudEvents standard. To publish data using this standard, proceed with the "Publish Message" node.
Google Could Pub/Sub is a messaging service for exchanging event data among applications and services. It lets you create systems of event producers and consumers, called publishers and subscribers. Publishers communicate with subscribers asynchronously by broadcasting events to a topic, without regard to how or when these events are to be processed. Pub/Sub then delivers events to all the subscribers of that topic, and each subscriber has its own logic of reacting to the event.
The integration between Synerise and this tool opens up possibilities of exporting data collected in Synerise. With the Publish Raw Message node, you can push data from Synerise to Pub/Sub in the form of messages published to Pub/Sub queues in the CloudEvents standard. You can use this connection in various scenarios, such as exporting transactions, event data, customer information (such as marketing agreements), results of metrics, aggregates, expressions, reports, and many more to Google Cloud Pub/Sub. This lets you seamlessly integrate Synerise with third-party tools or other Google Tools such as Google Analytics, Google Ads, Google BigQuery, Google Sheets.
During the configuration of the node, you can use Jinjava inserts which let you dynamically refer to the profile attributes and event parameters in the workflow.
This node is not optimized for batch operations that send large volumes of data (for example, updating all events for each profile). Use it to export changes within one event, profile attribute (for example, marketing agreement), analysis results, and so on.
Prerequisites
- Set up the Google Cloud Console project and enable the Pub/Sub API for that project.
- Configure publishing and consuming messages in Pub/Sub.
- Become familiar with building message frames in Google Cloud Pub/Sub.
Node configuration
- Click Google Cloud Pub/Sub > Publish Raw Messages.
- Click Select connection.
- From the dropdown list, select the connection.
- If no connections are available or you want to create a new one, see Create a connection.
- If you selected an existing connection, proceed to defining the integration settings.
Create a connection
To allow the data exchange, establish a connection between Synerise and Google Cloud Pub/Sub.
- At the bottom of the Select connection dropdown list, click Add connection.
- On the pop-up, click Sign in with Google.
- Select a Google account which has:
- Access to the project and topic in Google Cloud Pub/Sub that you want to use.
- Permissions to publish messages in that project and topic.
- Follow the instructions on the interface.
- After successful authentication, click Next.
- In the Connection name field, enter the name of the connection.
It's used to find the connection on the list. - Click Apply.
Result: A connection is created and selected.
Define the integration settings
In this step, fill in the form that allows you to publish a message in Google Cloud Pub/Sub in CloudEvents standard.

- In the Project ID field, enter the unique identifier of your project in Google Cloud Console.
You can learn how to find the project ID here. - In the Topic ID field, enter the unique identifier of the topic (a named resource that represents a feed of messages).
Learn more about creating and managing topics. In the Messages field, enter a JSON array with messages to be published. Learn more about building messages in Pub/Sub.
Each message object must contain the
dataorattributesparameter.- the
dataparameter of the message object must be encoded in Base64. You may use Jinjava filter to encode your data.
Click here to see example of the Messages array
[ { "data": "{{ {"name": "John"}|tojson|base64Encode }}", "attributes": { "cardID": "XXX" } } ]
- Confirm the settings by clicking Apply.
Result: When the Publish Raw Messages node is executed, apubSub.publishRawMessagesevent is generated on the activity list of the profile who is the actor in the workflow.
Test integration
You can run a test request. If the request body contains a dynamic reference to a profile attribute and/or an event data from preceding nodes, then you can define the context using test profile data.
Complete description of the feature is available in Testing outgoing integrations.
- In the Test integration section, click Send test request.
Result: A test request builder opens. If:- a request body contains dynamic references, the request preview appears after you select the context of test profiles and events.
- a request body contains static data, the preview of the body request appears immediately.
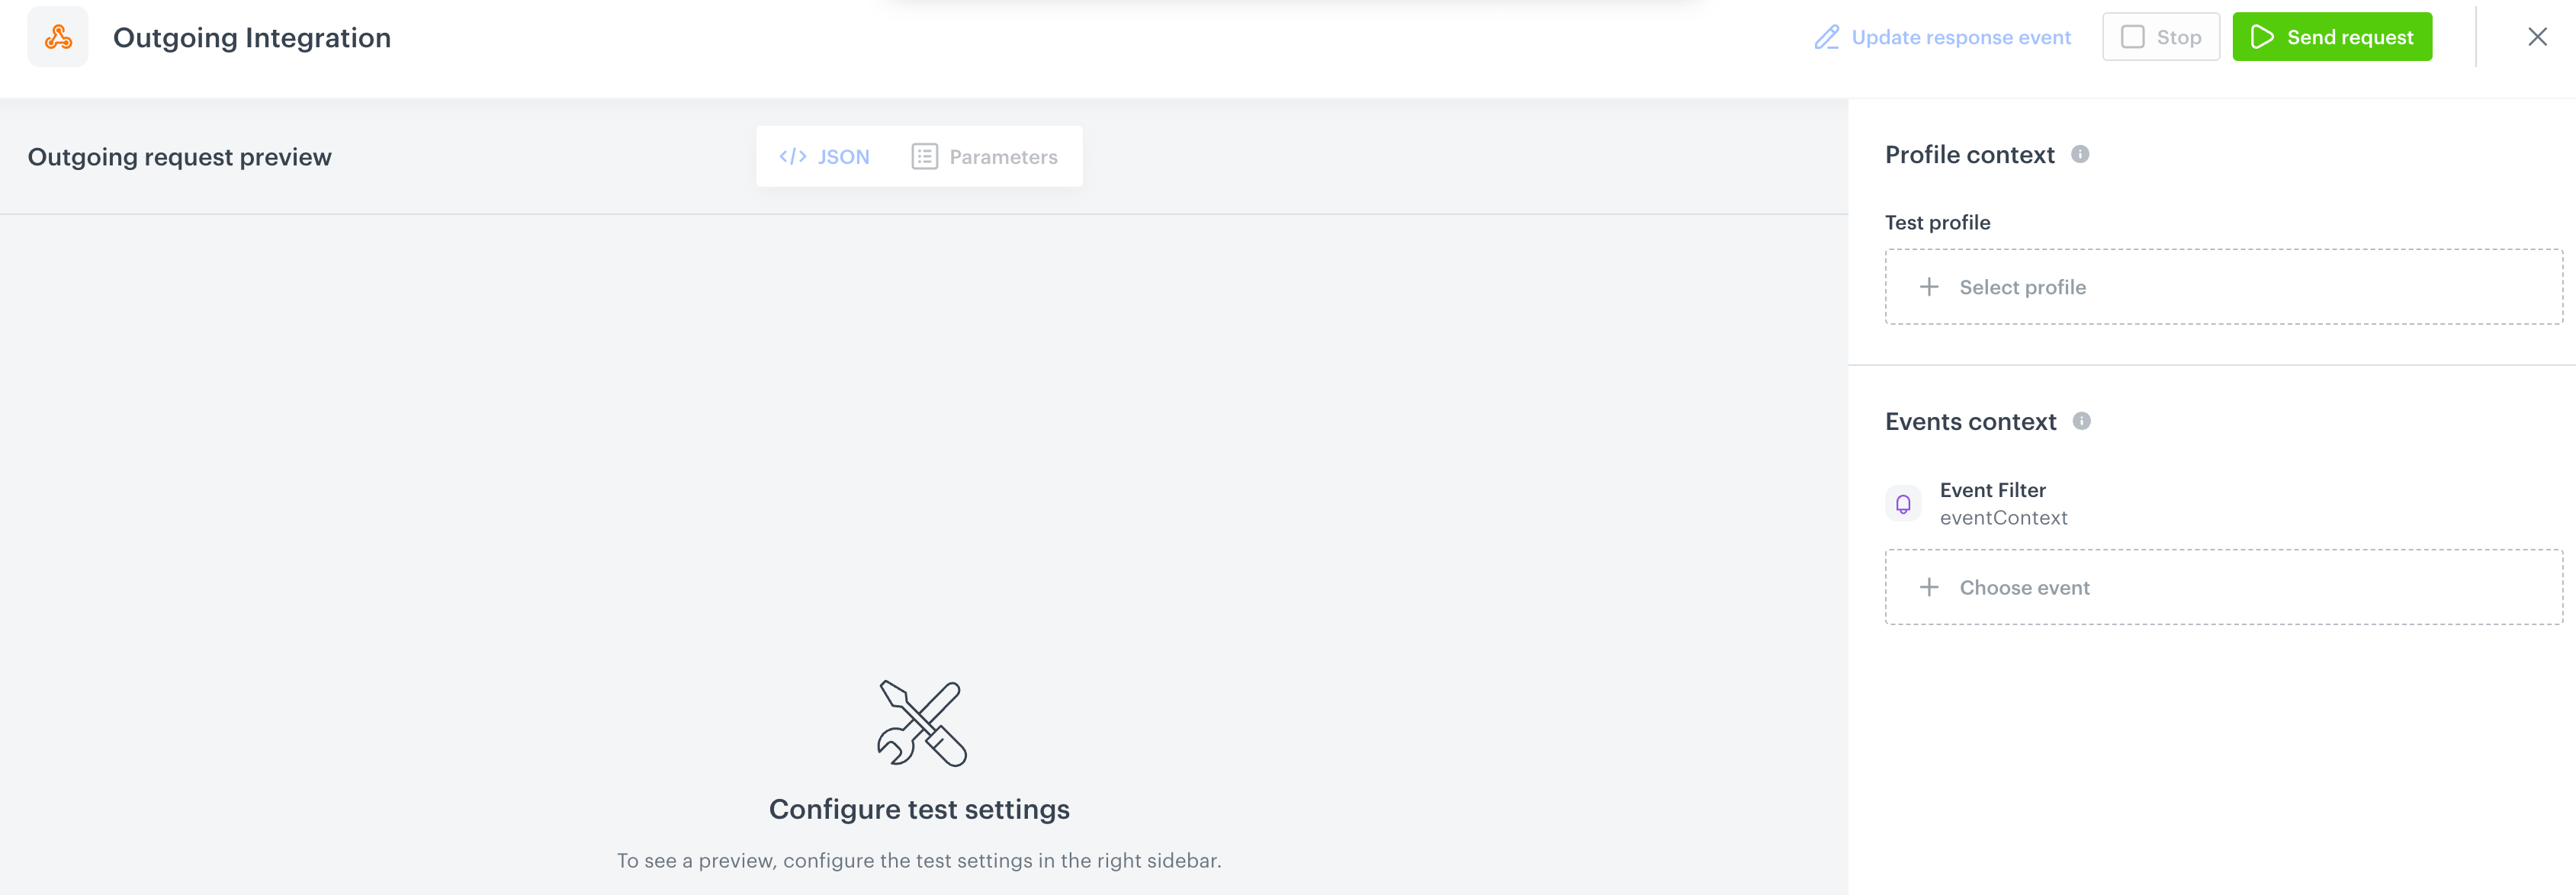
An empty test request builder - If your request contains dynamic references (otherwise, the options aren't available):
- From the Test profile dropdown, select a test profile in the context of whom the test request will be performed.
- From the Event context dropdown list, you can select a particular occurrence of an event whose values/information will be used for the test request.
- Select a test profile.
Result: A history of test profile events appears.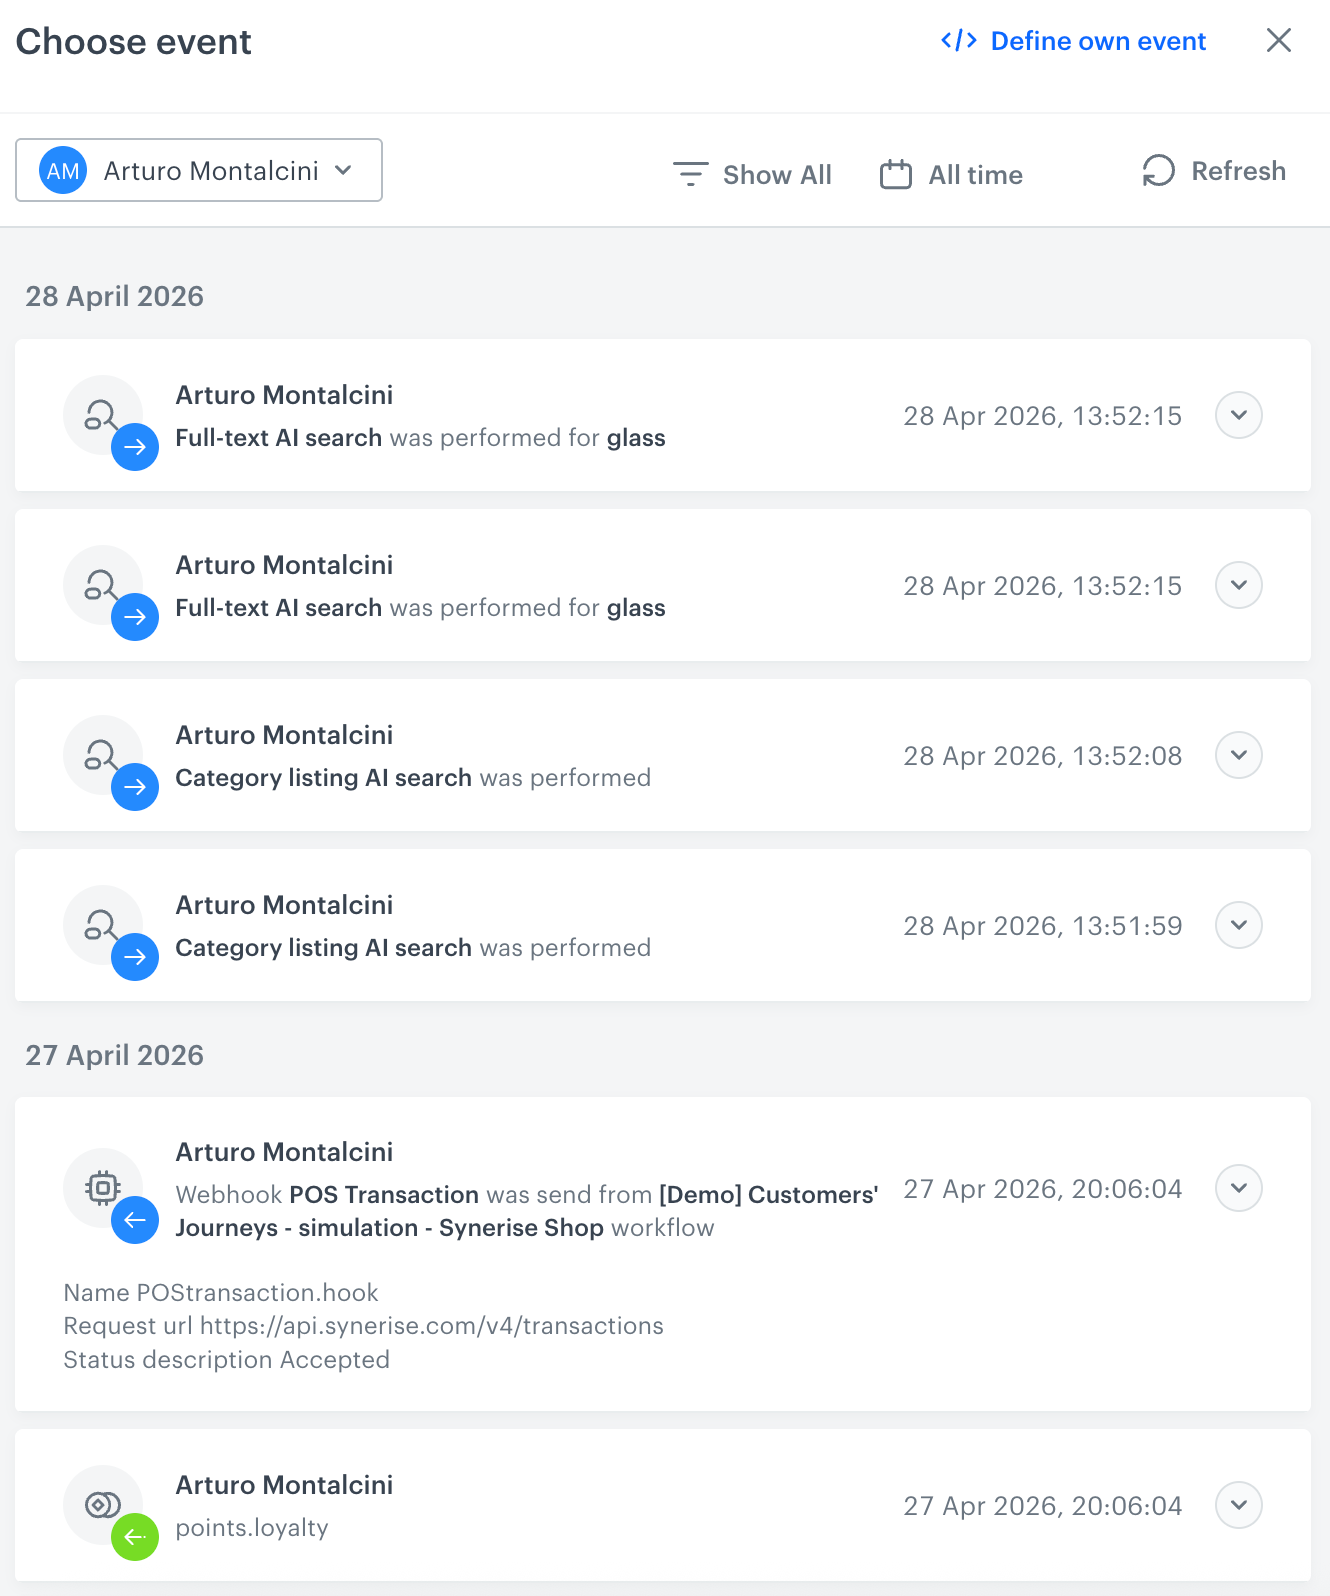
A stream of events of a test profile - From the list of events, select one whose data you want use as a context. If there is no event you can use, in the upper-right corner of the pop-up, click Define own event and provide the body of the event.
- Confirm by clicking Apply.
- Select a test profile.
- Verify the request body. If there is something you want to change, come back to the node settings from previous steps.
- If the request body is ready to test, in the upper-right corner, click Send request.
Result: The response section appears and the Update response event button becomes active. - Optionally, you can update response event with new parameters by clicking Update response event in the upper-right corner.
Example of use
Refer to this use case to see how you can use this node: