A workflow scheduler is a feature that you can use when creating a workflow (it becomes available after adding the first node on the canvas). It lets you create a set of rules which automatically change the workflow status at a given date and time.
This feature is helpful when you need to activate a workflow at a later date or when you're handling multiple workflows and want to avoid the hassle of remembering when to change their status.
The workflow can receive the following statuses:
Pending: A workflow which is scheduled to be activated on a future date. A pending workflow can be run or stopped.
Active: A workflow will perform operations when its trigger conditions are met. The workflow remains active until you manually stop it or 62 days have passed since the last trigger. An active workflow can also be paused or stopped.
Paused: A workflow is temporarily paused. In a customer-oriented workflow, customers are paused at their current stage, while in a business-oriented workflow, the processes are paused at their current stage. A paused workflow can be re-activated and stopped permanently. When re-activated, the customers and processes will resume from where they left off.
Stopped: A workflow is permanently stopped. In a stopped workflow, customers and processes complete the workflow from their current stage. A stopped workflow cannot be paused or re-activated.
The following logic is allowed:
Draft > Pending > Active
Draft > Active > Pause > Stop
Difference between scheduler and Scheduled Run node
The workflow scheduler feature allows you to automate workflow status changes (active, paused, stopped) based on a schedule you set. On the other hand, the "Scheduled Run" node serves as a workflow trigger that specifies the date and time for starting the defined process within the workflow, as long as the workflow is active.
Important
Resuming stopped workflows is impossible, however, you can duplicate the stopped workflow and activate the duplicate;
The scheduler does not validate whether rules overlap or whether their execution order is correct. As a result, it is your responsibility to ensure that all defined rules align with your business logic and do not produce unintended outcomes. Before running the scheduler, carefully review your configuration to make sure the rules behave as expected.
If you resume a paused workflow, then:
if a profile paused at the "Delay" node and the workflow is resumed before the delay time passes, a profile will continue the journey,
if a profile paused at the "Event Filter" node and there is no time limit or the time limit isn't exceeded, the journey will continue if the event defined in the filter occurs,
the possibility of pausing at the action node is slim
When the status of the workflow is changed by the scheduler, the system validates the workflow diagram. If any part of the diagram has been removed (for example, a segmentation used in the Audience node has been removed from the workspace), the rule will be skipped and the scheduler will make an attempt to execute the next rule according to the timeline.
Creating schedule rules
Go to Automation Hub > Workflows > New workflow.
Prepare the workflow you want to launch. To learn basics on how to create a workflow, refer to the Creating workflows article.
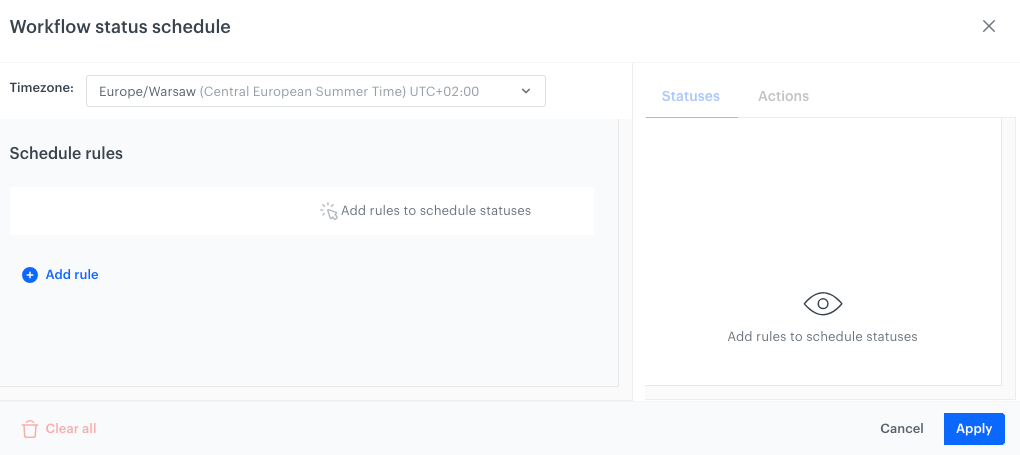
In the upper-right corner, click Define scheduler. This option appears on the canvas after adding the first node. Define scheduler optionResult: A pop-up appears. A blank workflow scheduler configuration
Click Add rule.
From the dropdown list, select the action to be performed:
Activate
Pause
Stop
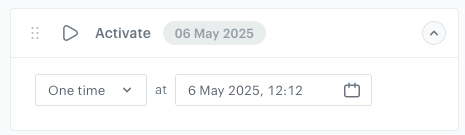
To define details of the schedule rule, click it. Result: A pop-up appears.
Leave the One time option at default.
In the date field, select the date and time when the workflow changes its status to the one defined by the rule you're creating. Result: A rule is added. Example rule
To add more rules, repeat steps 4-8. The transition between statuses will be performed according to the dates.
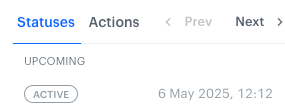
To preview the scheduled statuses for the workflow, click the Statuses tab. If you create two or more subsequent rules for the same action, the status only changes once and is visible only once on the Statuses tab.
One Active status
Two Activate actions
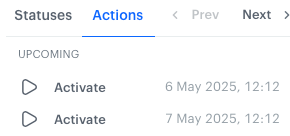
To preview the actions which will be executed in the context of the workflow, click the Actions tab. Actions correspond to the statuses scheduled for the workflow.
By navigating through Prev and Next:
on the Statuses tab, you can preview upcoming statuses;
on the Actions tab, you can preview executed and planned actions.
From the Timezone dropdown list, select the timezone for which the rules will be interpreted.
Confirm by clicking Apply.
Activating workflow with scheduled rules
The following instructions concern a scenario in which a draft workflow is activated.
to save it as a draft, click Save.
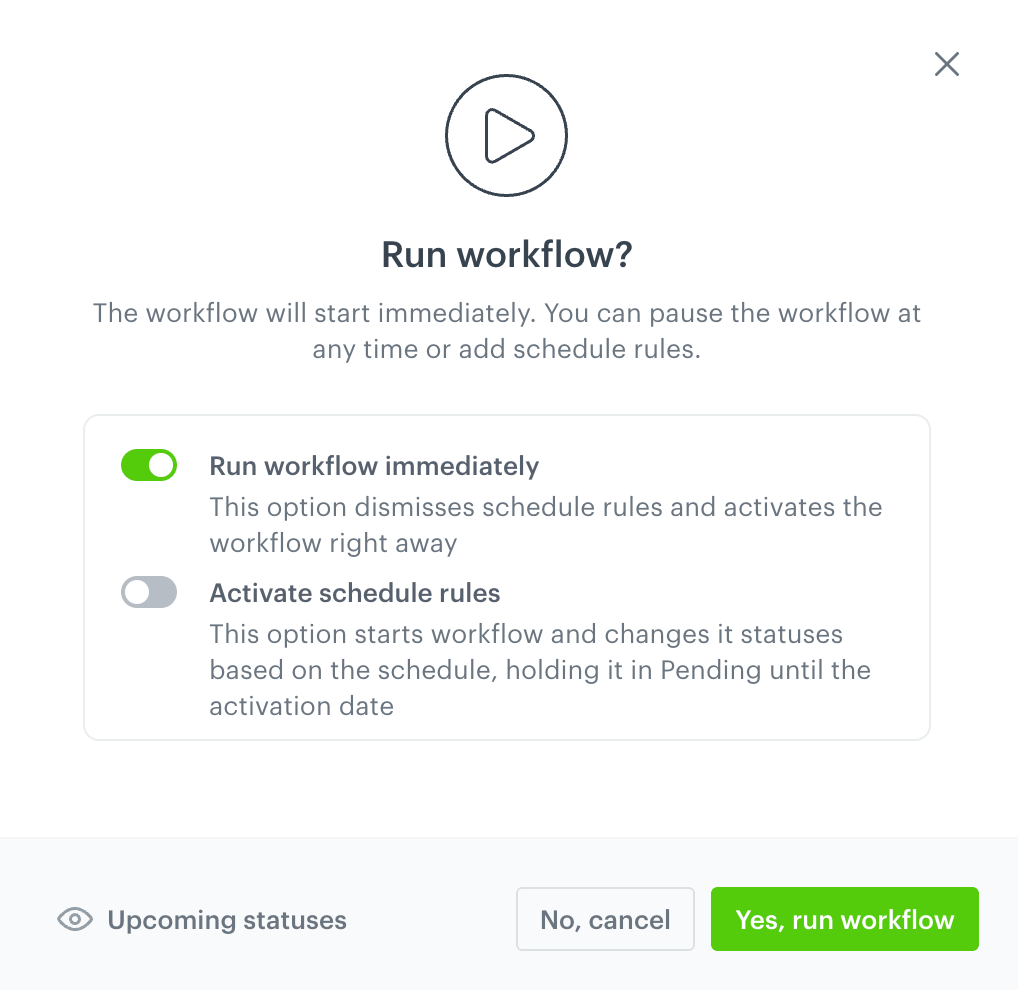
to save and activate it by enabling: Run workflow immediately, or Activate schedule rules, or combine these options. The table below presents outcome for every combination:
Run workflow immediately
Activate schedule rules
Outcome
The schedule rules will be disabled, the workflow will be immediately activated; any status changes will need to be done manually.
The workflow will remain in a Pending status until the scheduled activation date, and it will then proceed according to the schedule rules.
The workflow will be immediately set to Active status, and the schedule rules will be enforced; if the first schedule rule is activation, it will be ignored since the workflow will already be active at that time.
confirm your choice by clicking Yes, activate. A pop-up that appears after clicking Save & Run for a workflow with schedule rules