The Get Metrics node lets you retrieve results of up to 50 metrics created in Decision Hub and incorporate them into workflows to distribute metrics results to external services where the metrics data is crucial for business operations. You can use this node only in business workflows.
How does it work?
The Get Metric node exports a file to the workflow which contains 3 columns:
id(the ID of the metric),name(the title of the metric),result(the result of the metric)
When the Get Metrics node is reached, the workflow will only progress after the requested metric results are calculated. The workflow uses the most recent metric versions.
If a metric can't be calculated, an error is logged on the Transformation logs tab
Node settings
In the node settings, you can:
| Action | More information |
|---|---|
| Select metrics | You can select up to 50 metrics. |
| Select the period from which you want to get the results | The workflow's time range settings will take precedence over the original metric settings. For instance, if a metric is set to the last 7 days, but the Get Metrics node in the workflow requests results from the last 30 days, the 30-day range will be used. |
| Define the value of a dynamic key or dynamic keys | If the system detects dynamic keys in the conditions of the selected metrics, they are displayed in the node. |
Dynamic keys in metrics
If the metrics selected in the node contain at least one dynamic key, the name of the keys with their default values are displayed in the settings of the node. You can see an example dynamic key used in a metric in Figure 1 below.
- In the settings of the Get Metrics node, you can enter values for the dynamic keys to use in the calculation.
- You can use static values, snippets, and inserts as dynamic key values.
- If multiple metrics include a dynamic key with the same name, it's included as a single item on the list. All metrics which contain that dynamic key will be calculated for the specified value.
- If the metric is modified and the dynamic keys change, the results will be generated for the most recent metric version. If there is a difference between the keys in the node and the latest metric version, you will receive information about it in the Insights section in the workflows which use this metric.

Prerequisites
- Create a metric.
- You must be granted a user role that includes the
Data export > Export metrics resultpermission.
Node configuration
- To create a workflow that lets you export the results of metrics, go to Automation Hub > Workflows > New workflow.
- Select one of the business trigger nodes, for example Scheduled Run.
- Click THEN > Synerise > Get Metrics.
- Open the configuration form of the node by clicking it.
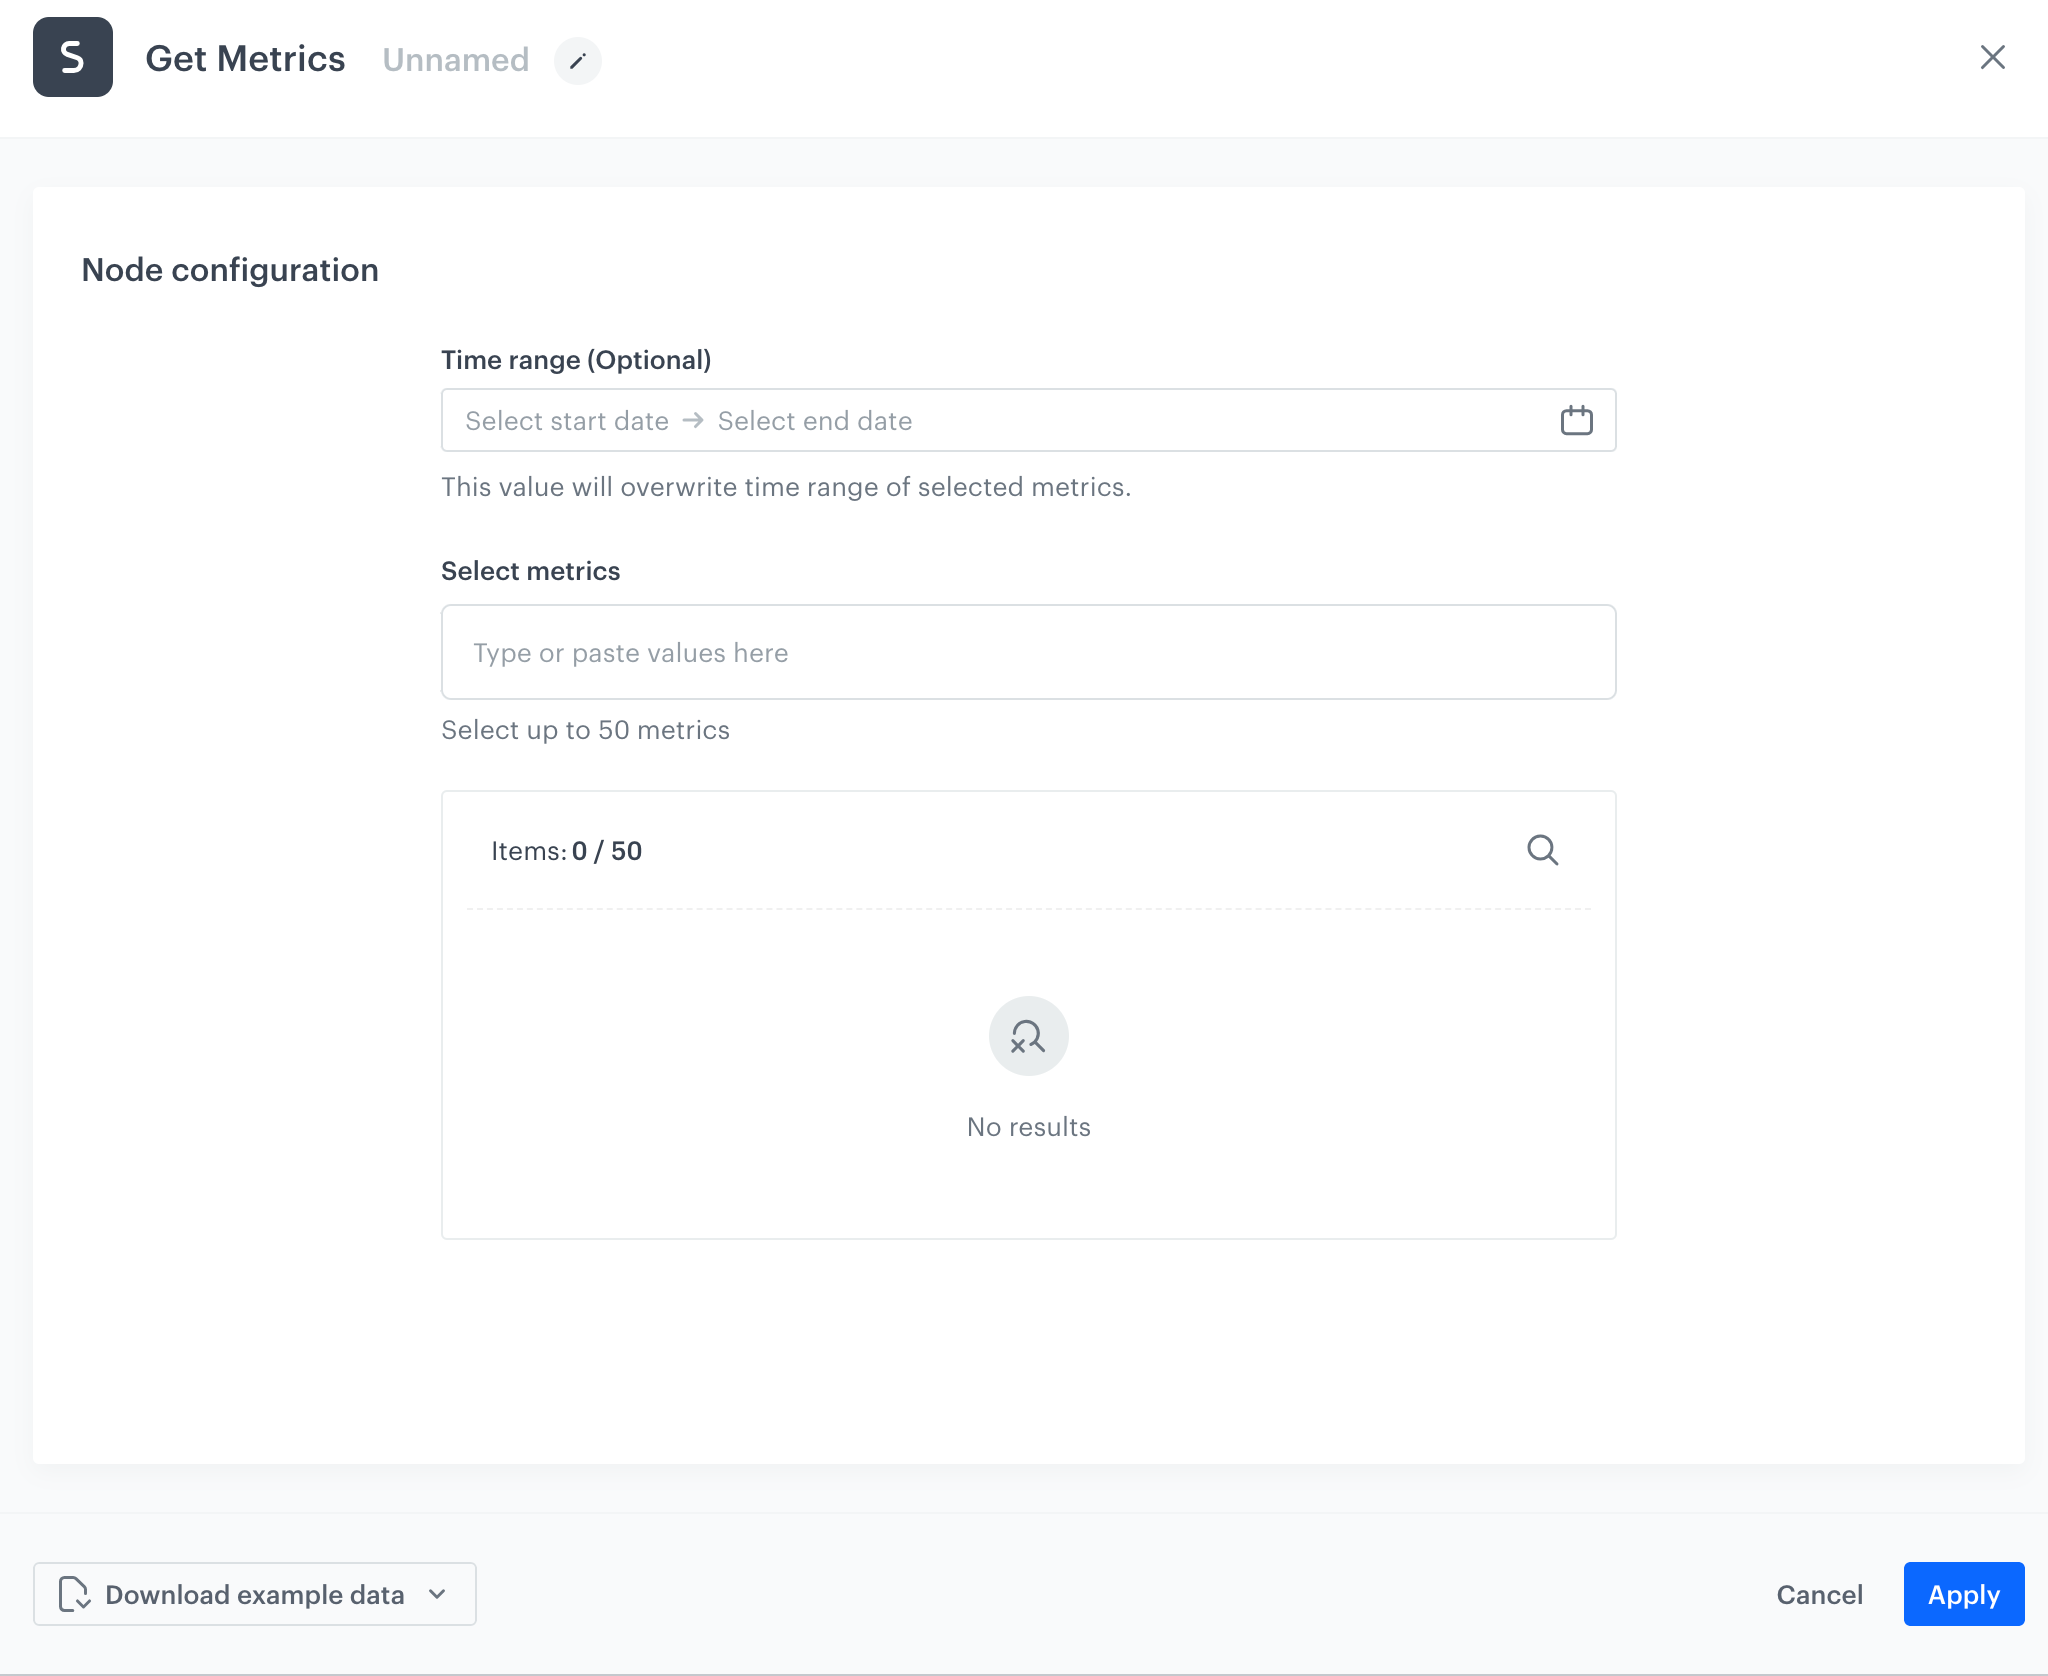
The configuration form of the Get Metrics node - Optionally, in the Time range field, on the calendar, select the time range from which you want to get the results of the metric or metrics. The time range you select will override the original time range settings of the metrics.
- In the Select metrics field, select one or more metrics whose results you want to extract.
If the selected metrics contain a dynamic key, you will be shown a list of the keys used in metrics. You can replace a default key value with your own using a static value, such as123string or inserts, so the results for the metrics which contain dynamic key will be generated for that value. - Confirm the settings by clicking Apply.
You can transform the data from the metric. First, you must prepare a transformation rule. To get a data sample for the transformation rule, click Download example data in the configuration of the Get Metrics node and select CSV format. After the rule is complete, use it in the Data Transformation node added after the Get Metrics node.
Example of use
You can launch a workflow that exports the number of event occurrences from the day before the current day.
In the example, metrics for the following events are used (you must create the metrics yourself):
The workflow will be launched every day at 2:00 A.M.
Start the workflow with the Scheduled Run node. In the configuration of the node:
- Set the Run trigger to all time.
- Select the timezone in which the workflow will be launched.
- Select the Everyday tab.
- In the field with time, set the value to
02:00. - Confirm by clicking Apply.
- Add the Get Metrics node. In the configuration of the node, select the three metrics and set the time range to the day before the current day.
Add the Azure Blob Storage > Send File. In the configuration of the node:
- Select the connection.
- If no connections are available or you want to create a new one, see Create a connection.
- If you selected an existing connection, proceed to defining the integration settings.
- Add the End node.
Result:

The final configuration of the workflow