The procedure describes the creation of a workflow.
Requirements
- You must be granted user permissions which allow access to Automation Hub.
- If a workflow uses nodes that rely on customer activity on the website (for example
page.visit,product.buy, and so on), you must implement a tracking code into the website. - If the workflow uses nodes that rely on sending emails, text messages, pushes or web pushes, the respective accounts for sending these must be configured in the Synerise system.
Basic information
- Workflow and path are terms you can encounter in the documentation on Automation Hub.
- You can create workflows of these types:
- Business-oriented workflow - This type of workflow in most cases is oriented at integrating Synerise with external services.
- Profile-oriented workflow - This type of workflow is oriented at performing direct actions towards customers.
- A workflow is linear and it always moves in one direction.
- A node is an element a workflow is built with. It can be a trigger that launches a workflow, a condition such as the Profile Filter, an action such as the Send Email, and so on.
- Action nodes are processed on the basis of a fire and forget method. It means that in a situation where the process consists of a trigger, condition, action (for example, Send Email), and a finalizing End node, the workflow is finished when email sending is launched. The completion of the workflow isn't conditioned upon the completion of sending emails.
- While creating a workflow, you can make use of the toolbar which provides you the following features:
You can follow the hints in the Issues and Insights tabs which will help you through the process of creating a workflow:
- Issues - This tab presents all issues that need to be addressed in order to activate the workflow, for example, missing connections between nodes, missing title to the workflow, and so on.
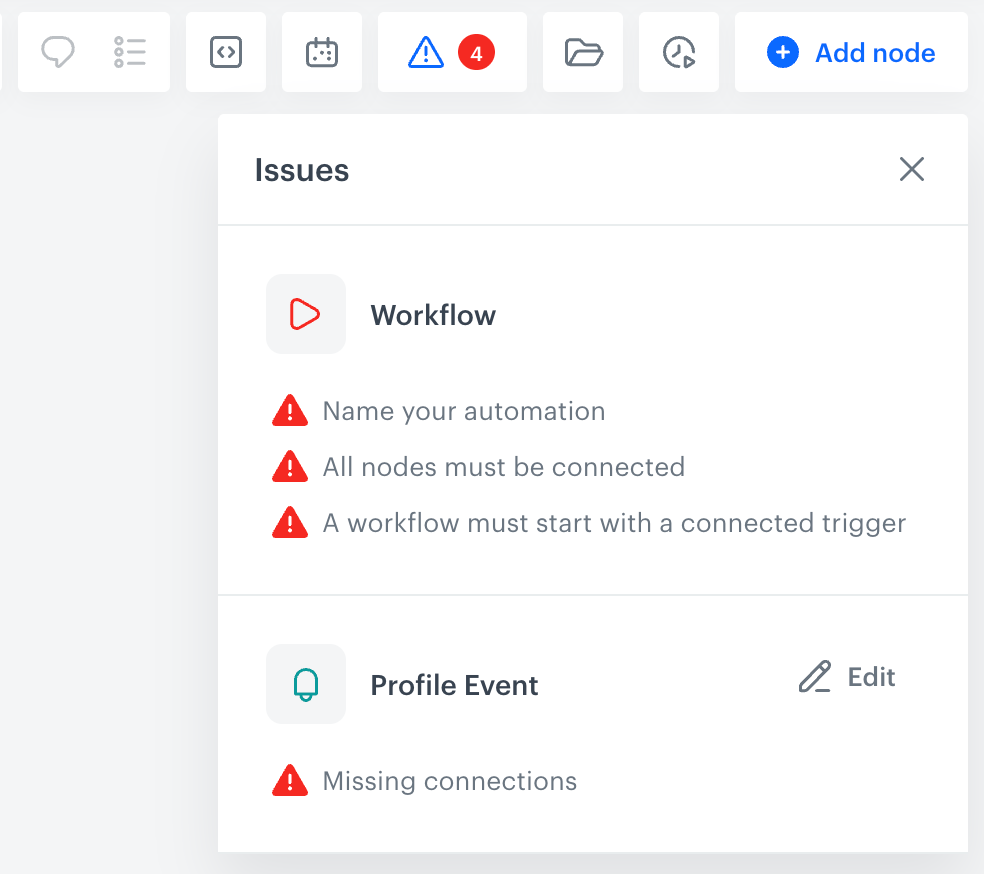
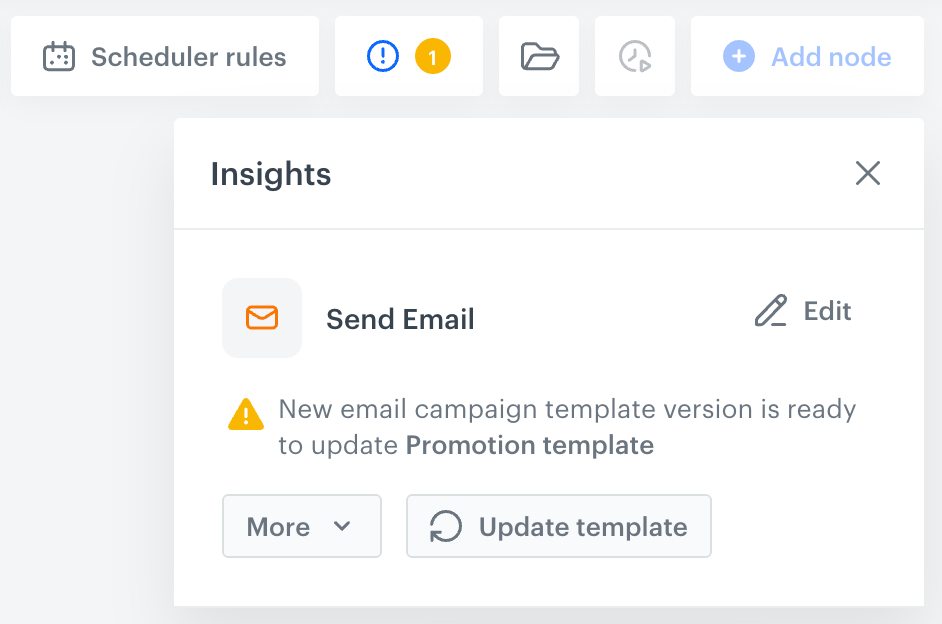
The Issues tab - Insights - This tab presents suggestions on actions you may want to take, such as updating message templates used in a workflow to the latest version or re-establishing a connection which is about to expire in the Integration nodes.
The Insights tab - By clicking
 , you can add notes to nodes in a workflow to inform other users about the purpose and assumptions of the node.
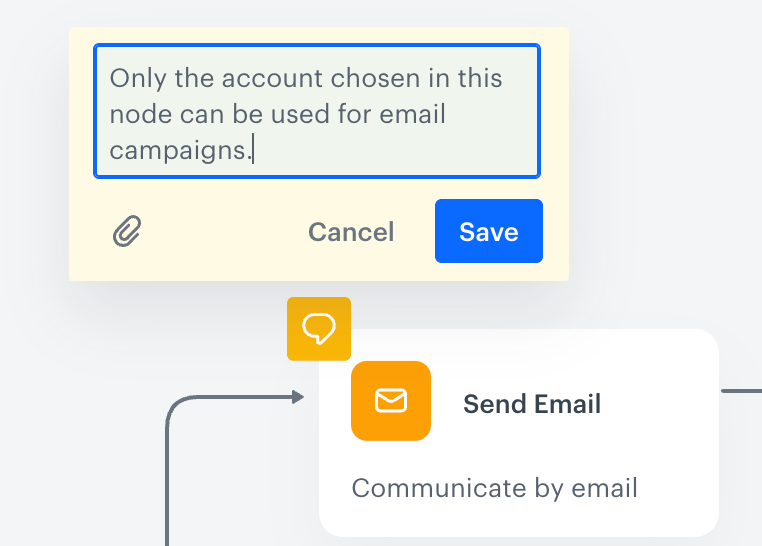
Example note added to the Send Email node - By clicking
 , you can open a catalog of snippets.
 - By clicking
 , you can define an automatic change or changes of the workflow status. This option lets you create schedule rules according to which the workflow changes status at a given date and time.
You can find the detailed instructions in the Workflow scheduler article.
, you can define an automatic change or changes of the workflow status. This option lets you create schedule rules according to which the workflow changes status at a given date and time.
You can find the detailed instructions in the Workflow scheduler article. - By clicking
 , you can get information about objects used in a workflow, such as segmentations, metrics, templates, email and SMS accounts, connections, and outgoing integrations (includes only integrations which are available in Automation Hub > Outgoing), and open the configuration of each in a separate tab.
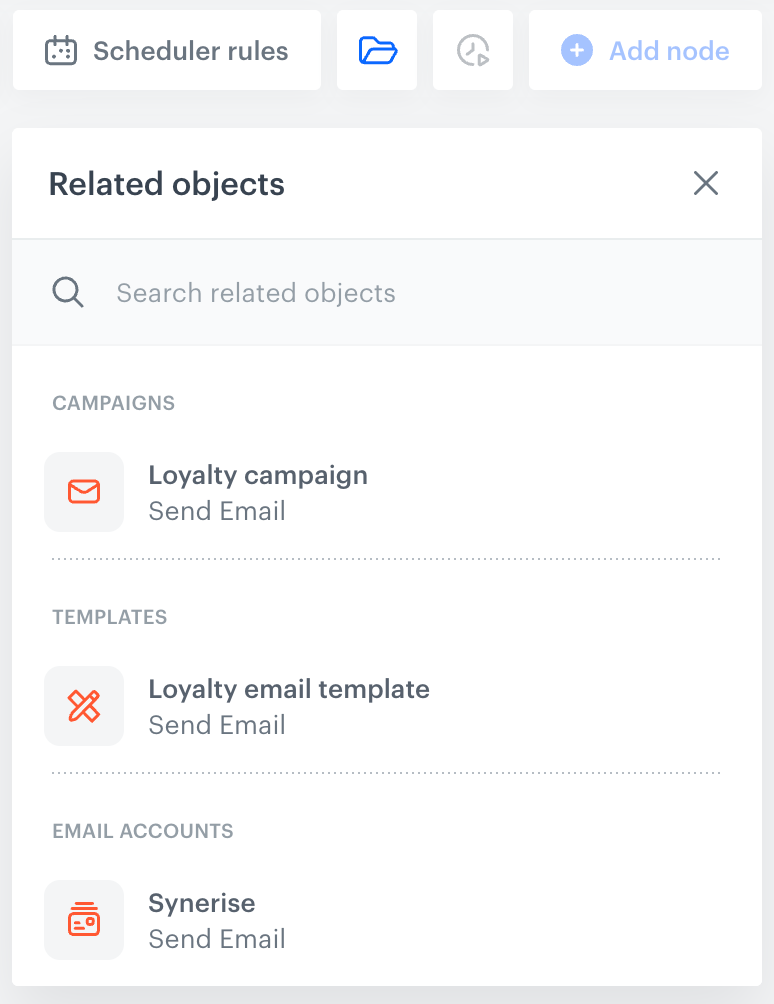
Assets panel listing objects used in the workflow - By clicking
 , you can use workflow limits that let you restrict the number of repetitions in the context of a particular workflow and nodes used in a workflow, as well as ignore the global limit of messages.
 - By clicking Add node, you can select any node to add at a random place on a canvas.
- You can preview node statistics for activated workflows and access Control Center to get a comprehensive overview of activities within the Automation Hub.
Segmentation, expression, and aggregate definitions are cached for 20 minutes after a node with the analysis is activated in a journey.
When another journey in the Automation Hub requests a result of the same analysis in that period, the cached definition is used to calculate the results. This means that if you edit a segmentation, aggregate, or expression used in a workflow, it takes 20 minutes for the new version to start being used in journeys.
This includes definitions of segmentations, expressions, and aggregates nested in other analyses and used in Inserts.
Creating a standard workflow
- Go to
 Automation Hub > Workflows > New workflow.
Result: A canvas opens: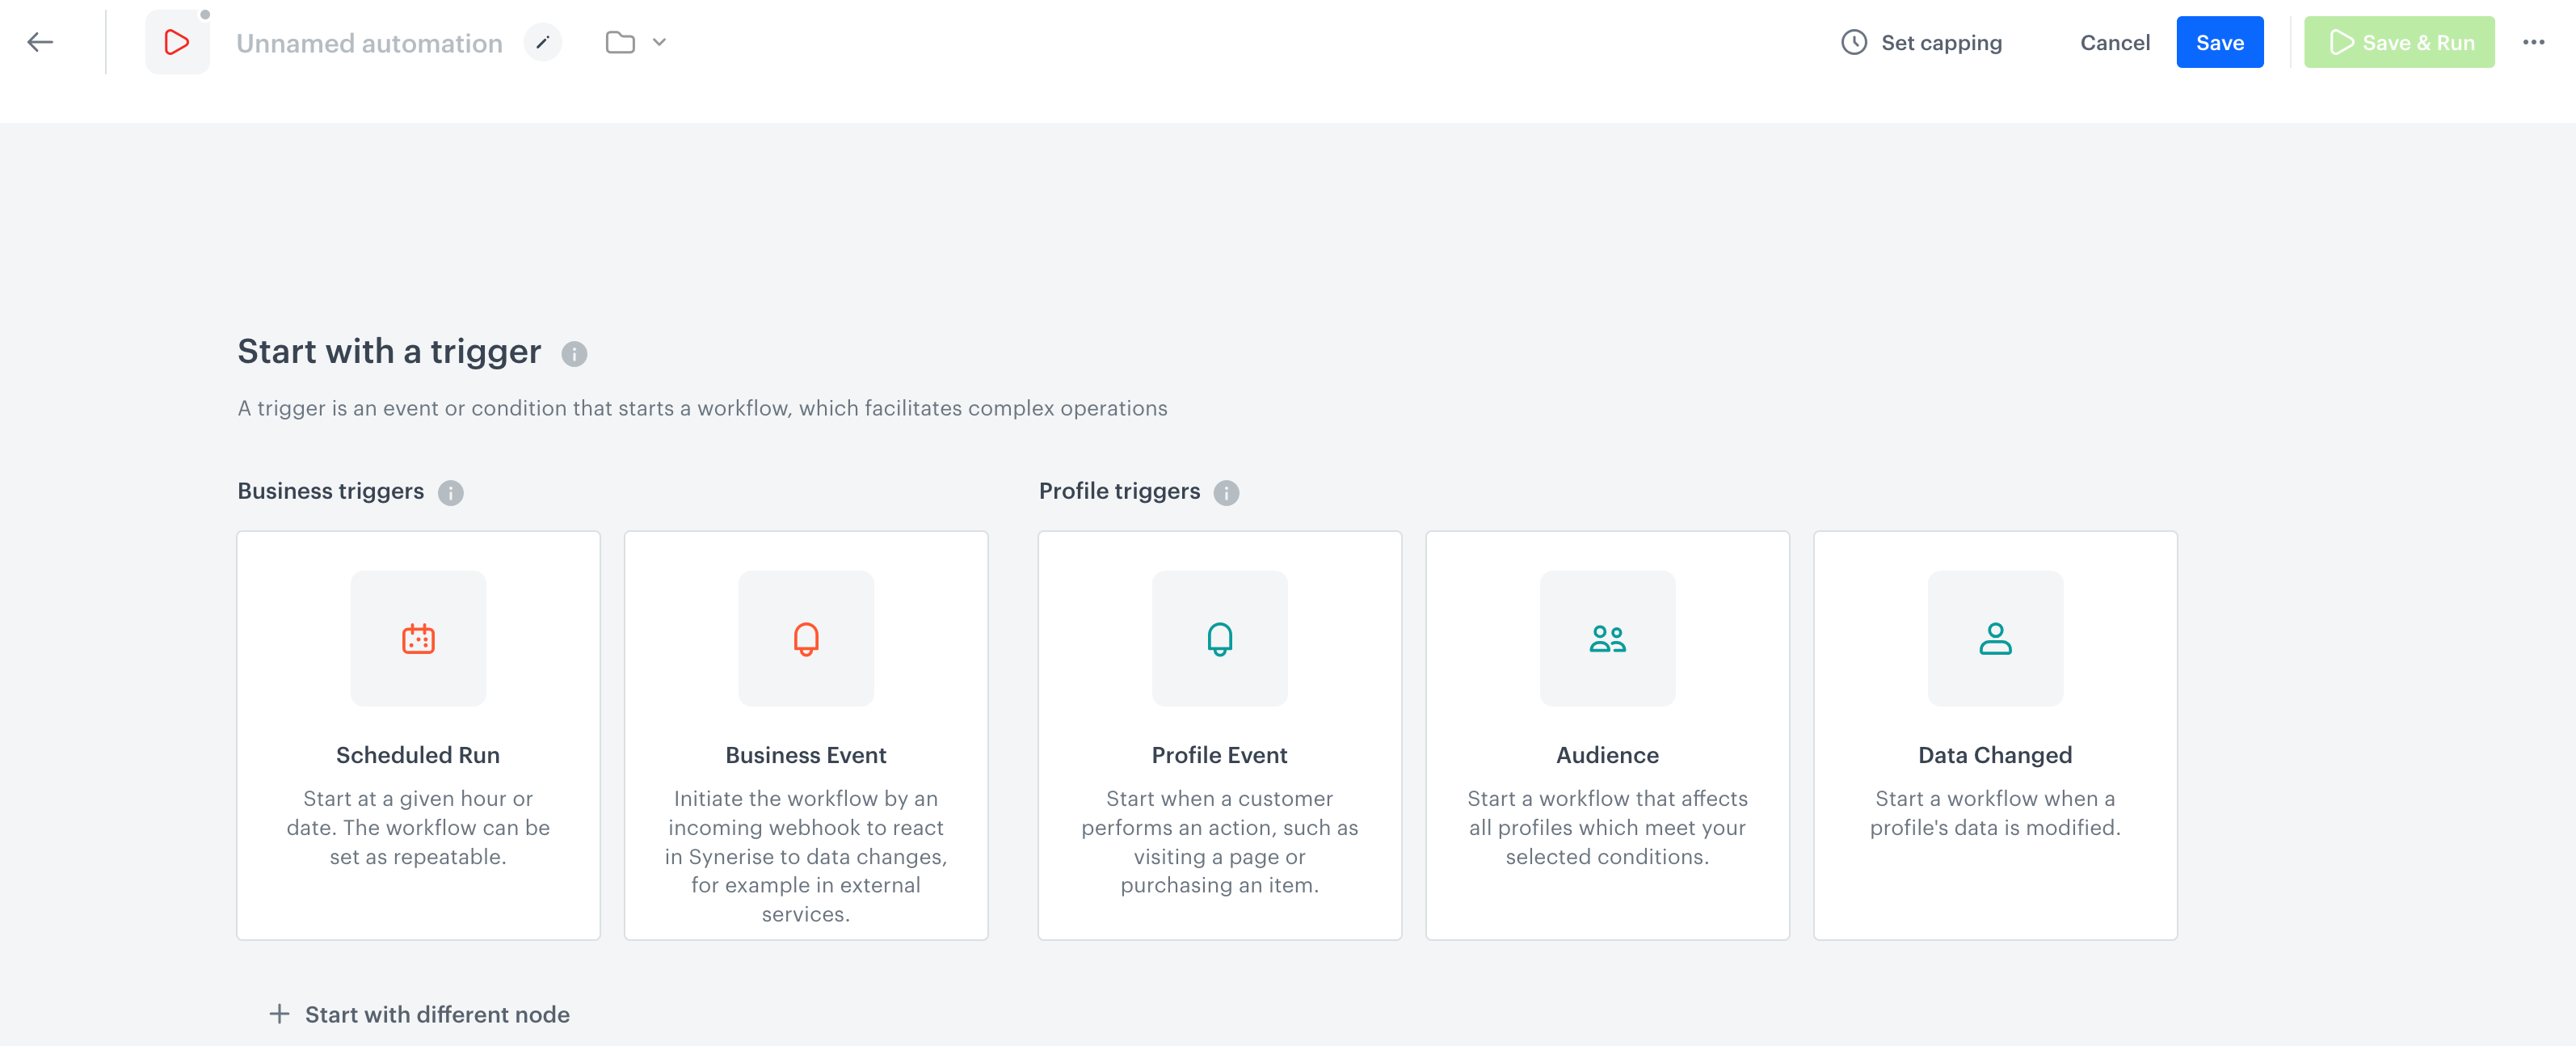
Start view - From the canvas, select a node that will trigger a workflow.
Result: The chosen node appears on the automation process dashboard. - To edit the settings of the node, click the node.
Result: A pop-up is shown.
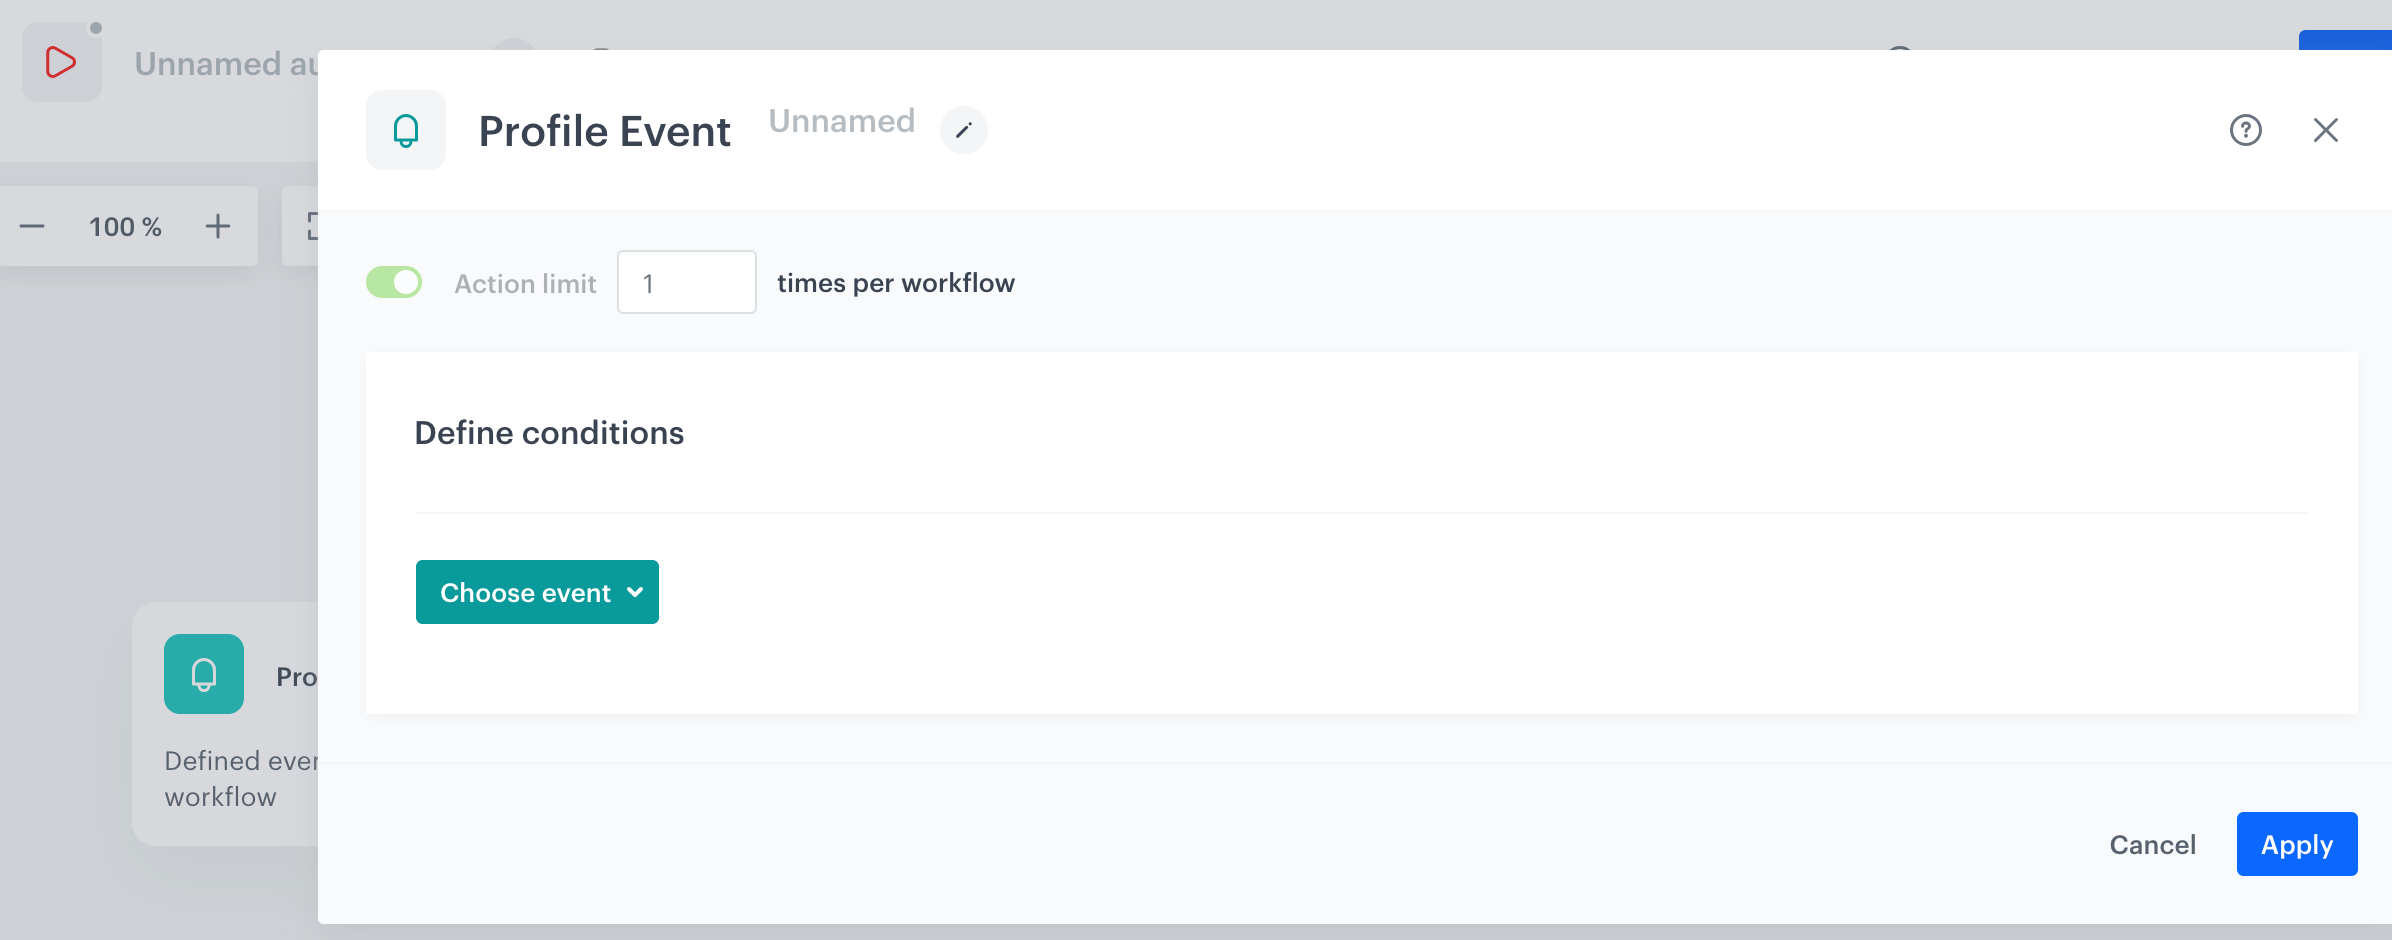
Configuration of the Profile Event node - On the pop-up, define the settings of the trigger.
- To inform other users about the purpose of the node, you can write a short description. In the header of the pop-up, click the pencil icon and enter the text.
- Confirm the settings by clicking Apply.
- To select the further elements of the workflow, click the THEN button on the trigger node. You have the following options to choose from:
- Sequences - Saved groups of connected nodes that you can insert as a single reusable block.
- Flow - Settings that concern the connections between the nodes.
- Conditions - Nodes in the workflow that allow you to narrow the group of customers the workflow is directed to.
- Actions - Nodes which define the kind of action to be executed as a response to the fulfilled conditions.
- Integrations - Nodes which let you integrate with external systems.
- When you choose the next node, adjust its settings by clicking the node on the canvas.
- Place at least one End node in the workflow. Otherwise, you won't be able to save it.
- Define a limit on the number of workflows that a customer can launch/that can be launched within a specific time range, by clicking in the upper-right corner.
- Enable the Limit profile paths toggle.
- In the Number of paths field, enter the allowed paths.
- In the middle field define the amount of time and from the dropdown list, select the time unit.
- Confirm the settings by clicking Apply.
Saving the workflow
You can:
- save a workflow as a draft, which lets you save your progress without running the workflow.
- save and activate the workflow immediately.
The process of saving and activating the workflow depends on application of scheduler rules in it.
Save as draft
If you want to save your progress without activating the workflow, follow the instructions in this section.
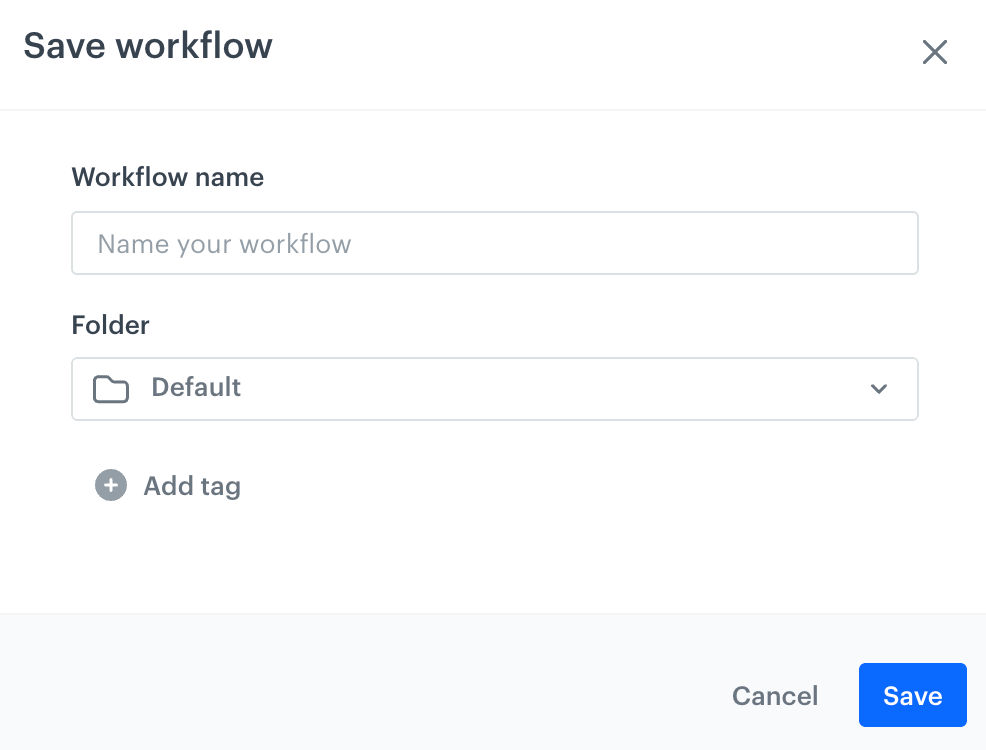
- In the upper-right corner, click Save.
Result: A pop-up appears. This pop-up appears while saving a draft for the first time. - In Workflow name, provide the name of the workflow.
- From the Folder list, you can select the folder in which the workflow will be saved.
Saving workflows in folders lets you quickly find and efficiently manage them. - Optionally, you can add tags to workflows by clicking Add tag. Tags are a method of organizing and managing your workflows. By assigning relevant tags from the predefined automations folder, you can keep your workflows structured and easy to navigate.
- From the dropdown list, select the tags you want to assign to the workflow.
The list contains only tags from theautomationtag folder. - Confirm the settings by clicking Save.
Save and run
To save and activate the workflow, in the upper-right corner, click Save & Run.
Result: A pop-up appears.
Without scheduler rules
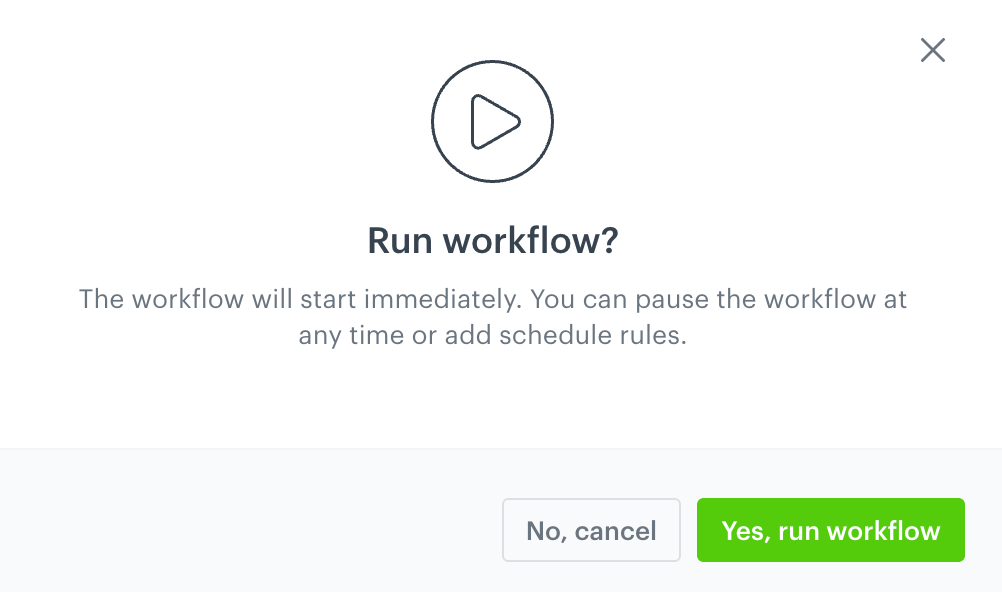
Confirm by clicking Yes, run workflow.
With scheduler rules
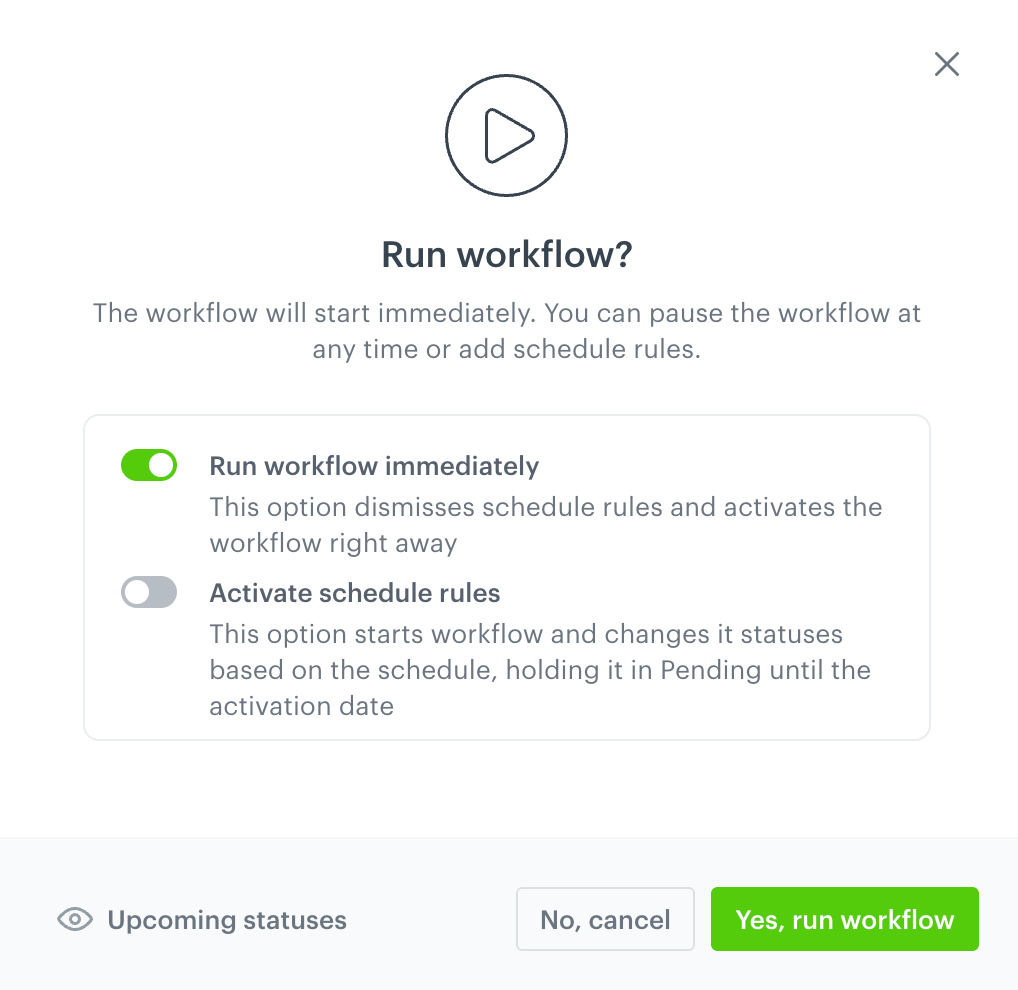
| Option | When selected |
|---|---|
| Run workflow immediately | Ignores schedule rules and runs the workflow immediately. Schedule rules are disabled, and any status changes must be done manually. |
| Activate schedule rules | Runs the workflow according to the schedule rules. The workflow stays in Pending status until the scheduled activation date, then proceeds based on the schedule rules. |
| Run workflow immediately and Activate schedule rules | Runs the workflow immediately and applies schedule rules. The workflow is immediately set to Active status, schedule rules are enforced, but if the first rule is activation, it is ignored since the workflow is already active. |
Confirm by clicking Yes, run workflow.
Workflow status
The status of the workflow changes to Stopped when (applies only to workflows triggered by Audience):
- it's been 62 days from the latest execution of the trigger,
- it is a one-off workflow and it is completed,
- the limit of repetitions in the trigger settings runs out
In the audit log, this change of the workflow status will be marked as a change done by internal user.
Activating a paused or stopped automation that starts with the Audience trigger results in restarting the automation for all customers (also those who completed the automation before pausing or stopping it).
If your automation includes any communication nodes (send email/SMS/mobile push/webpush), a communication is created for each node. The communication is named after the template that was used and the author is Automation. The UUID of the communication is available in the details of the node.
DO NOT remove communications created for nodes. Removing such a communication breaks the node.
Each status allows certain scope of actions. The scope of actions:
| Action: | Edit | Activate | Pause | Stop |
|---|---|---|---|---|
| Draft | ||||
| Pending | ||||
| Active | ||||
| Paused | ||||
| Stopped |
*The editing option allows changing the settings in the nodes only. You won't be able to add new nodes to the diagram.
Adding notes
As workflows grow, understanding decisions becomes harder especially for teams and future maintainers. Adding notes directly to nodes or placing them freely on the canvas helps capture important context like intent and assumptions where it’s needed most. This improves clarity, speeds up onboarding, enhances collaboration, and reduces knowledge loss by keeping critical information embedded within the workflow. Notes can also be updated as the workflow changes, keeping everything clear and up-to-date. You can also upload images to notes to provide additional visual context, such as screenshots or image of flowchart.
Requirements and restrictions
- Make sure your role is assigned with permissions that allow adding notes to workflow. These permissions are included within the set required for creating and editing workflows. See permission reference for creating and editing workflows.
- To add notes, a workflow must be at least saved as a draft.
- A note can be 2048 characters long.
- You can upload up to 5 images to a note (
JPG,PNG, andGIF) - You can only add one note per node. Notes added directly to the canvas are not tied to any node and can be placed freely.
Adding notes
Notes can be added to nodes or placed directly on the canvas. There are multiple ways of adding notes:
- adding notes one by one to nodes:
- using the node's context menu:
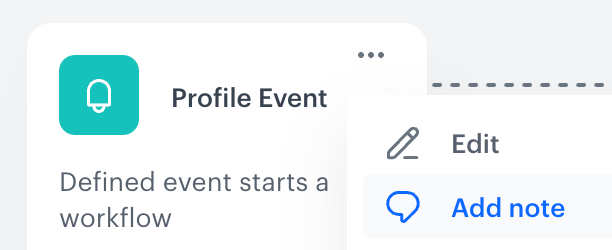
Adding note from the node context menu - in the settings of the node:

Adding note from the node settings
- using the node's context menu:
- batch adding notes
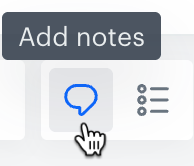
Add notes icon
Node context menu
- Hover the cursor over the node to which you want to add a note.
- Click

- From the dropdown list, select Add note.
- In the text field, enter the text of the note.
Result:Example note added to the Send Email node - Confirm by clicking Save.
Node settings
- Go to the settings of the node.
- In the upper-right corner of the pop-up, click Add note.
- In the text field, enter the text of the note.
- Confirm by clicking Save.
Batch add notes
You can add multiple notes consecutively, which is useful when you want to describe existing workflows in detail or add several notes at once.
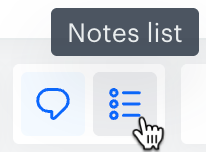
- On the canvas, click the note list icon.
Result: A sidebar appears, and the mouse cursor changes to a plus shape. - Hover the cursor over the node to which you want to add the note or anywhere on the canvas.
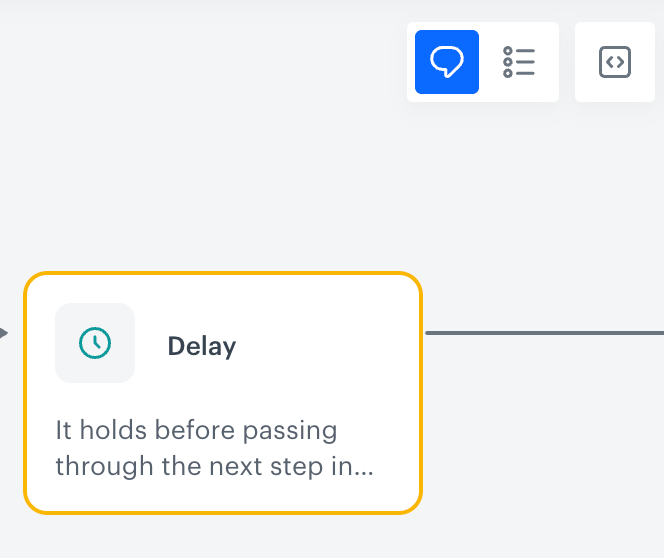
Adding a note to a node - Click the mouse button.
Result: A text field appears. - In the text field, enter the text of the note.
- Click Save.
- Repeat steps 2-5 if needed.
- To leave batch add mode, on your keyboard, press the
Esckey.
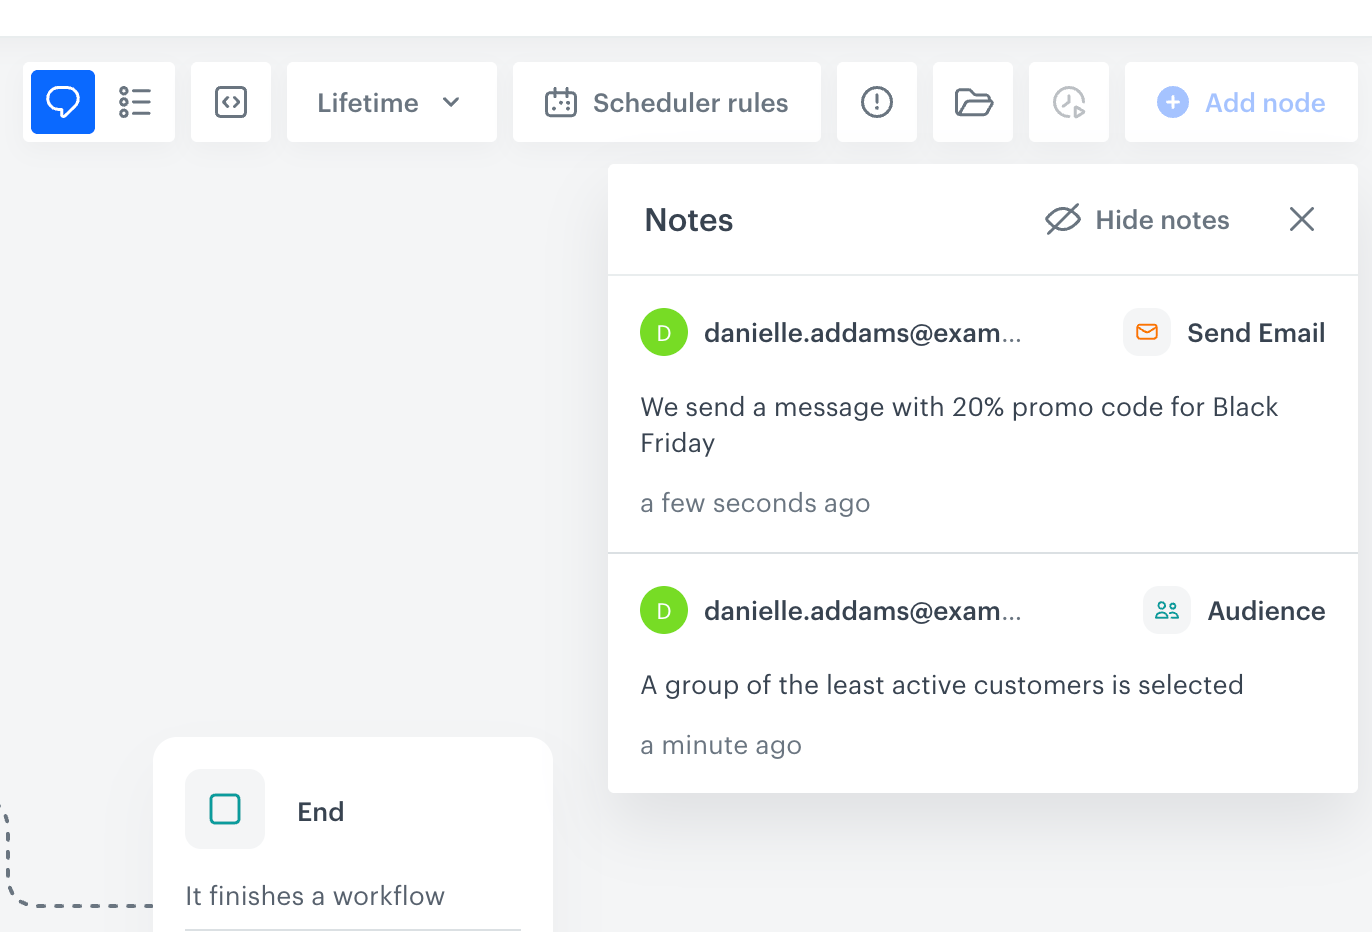
Workflow notes overview
You can view all notes added to the workflow in the Notes Collector available on the workflow canvas.
To display a list of notes, on the canvas, click the note list icon:
Result:
Keyboard shortcuts and bulk operations on nodes
Batch operations on nodes allow you to efficiently manage multiple elements on the canvas.
| Action | Keyboard shortcut | Description |
|---|---|---|
| Selecting multiple nodes | Hold shift and select | To select several nodes, hold Shift while clicking individual nodes or drag a selection box across the desired area. |
| Copying selected nodes | Cmd+C / Ctrl+C | Copies the selected canvas elements. |
| Pasting the copied nodes | Cmd+V / Ctrl+V | Pastes canvas elements from the clipboard. |
| Deleting selected nodes | Backspace | Deletes the selected elements. |
Remember that the diagram’s structure can only be modified while it is in draft status.
You can also save a selection of connected nodes as a reusable Sequence.
Tagging worfklows
You can assign the automation tags to workflows.
Workflow folders
You can save the workflows in folders which will let you better organize and manage your workflows.
Adding folders
To create your custom folders, follow the instructions in this section:
- Go to Automation Hub > Workflows.
- On the left pane, click Add folder.
Result: A text field appears under the Add folder button. - Enter the name of the folder.
- Confirm the name by clicking enter.
Result: A folder appears on the list.
Assigning workflows to folders
You can assign workflows to folders in the following ways:
- while saving the workflow as draft
- after saving the workflow, on the list of workflows, click > Move to.
Result: A pop-up appears.
From the dropdown list, select the folder name and to confirm the action, click Apply.
Exporting a workflow as an image
You can export a workflow diagram as an image file (PNG).
To export a workflow as an image:
- Go to Automation Hub > Workflows.
- Find the workflow you want to export and enter its details.
- In the upper right corner, click .
- Select Export as image. Result: The workflow diagram is downloaded as an image file. The name of the file is the name of the workflow and the date of export.