"Send Template Message" node
By connecting Synerise to WhatsApp, you can send personalized message templates to your customers directly from a Synerise workflow using the Send Template Message node. WhatsApp supports a wide range of message types, and by combining it with customer data collected in Synerise, you can send business-initiated conversations tailored to each recipient.
This integration uses an embedded sign-in flow, meaning authentication to Meta is handled directly within the Synerise interface.
Differences from the WhatsApp integration
The table below shows the differences between the WhatsApp integration and the WhatsApp partner integration.
| WhatsApp integration | WhatsApp partner integration | |
|---|---|---|
| Authentication | Permanent access token obtained by the customer | Embedded sign-in — no token management required |
| Meta app review | Required | Not required |
| Setup complexity | More technical setup required | Focused on business configuration only |
Requirements
Before proceeding with the integration, make sure you are familiar with the following:
-
Opt-in requirement: You must obtain explicit consent from customers before sending them WhatsApp messages.
-
Content rules: WhatsApp enforces content guidelines that all message templates must comply with. Review Meta’s content policies before creating templates.
-
Compliance: Ensure your use of this integration complies with all applicable Meta policies and Synerise terms of service.
-
24-hour conversation window: After a business sends a template message or a customer sends a message, both parties can exchange messages freely for 24 hours. Once the window closes, the business must send a new approved template to restart the conversation.
-
Initiating conversations: Customers can start a conversation at any time. Businesses can only initiate a conversation using an approved message template.
-
A dedicated phone number for sending messages: The number must not be associated with any existing WhatsApp account.
-
Customer profiles with contact data in Synerise: Profiles must contain at least one of the following:
- Minimum: a phone number (
phone) - Recommended:
whatsapp_idand/orreceive_whatsapp_messages
whatsapp_idis a customer identifier in WhatsApp that replaces a standard phone number.receive_whatsapp_messagesis a boolean attribute that stores the customer’s consent to receive WhatsApp messages.Tip: If your customer profiles do not include these parameters, you can import them by uploading a file or import them from SFTP.
- Minimum: a phone number (
Setting up the connection
- In Synerise, go to
 Settings > Connections > New connection.
 - On the pop-up, select WhatsApp (partner integration).
Result: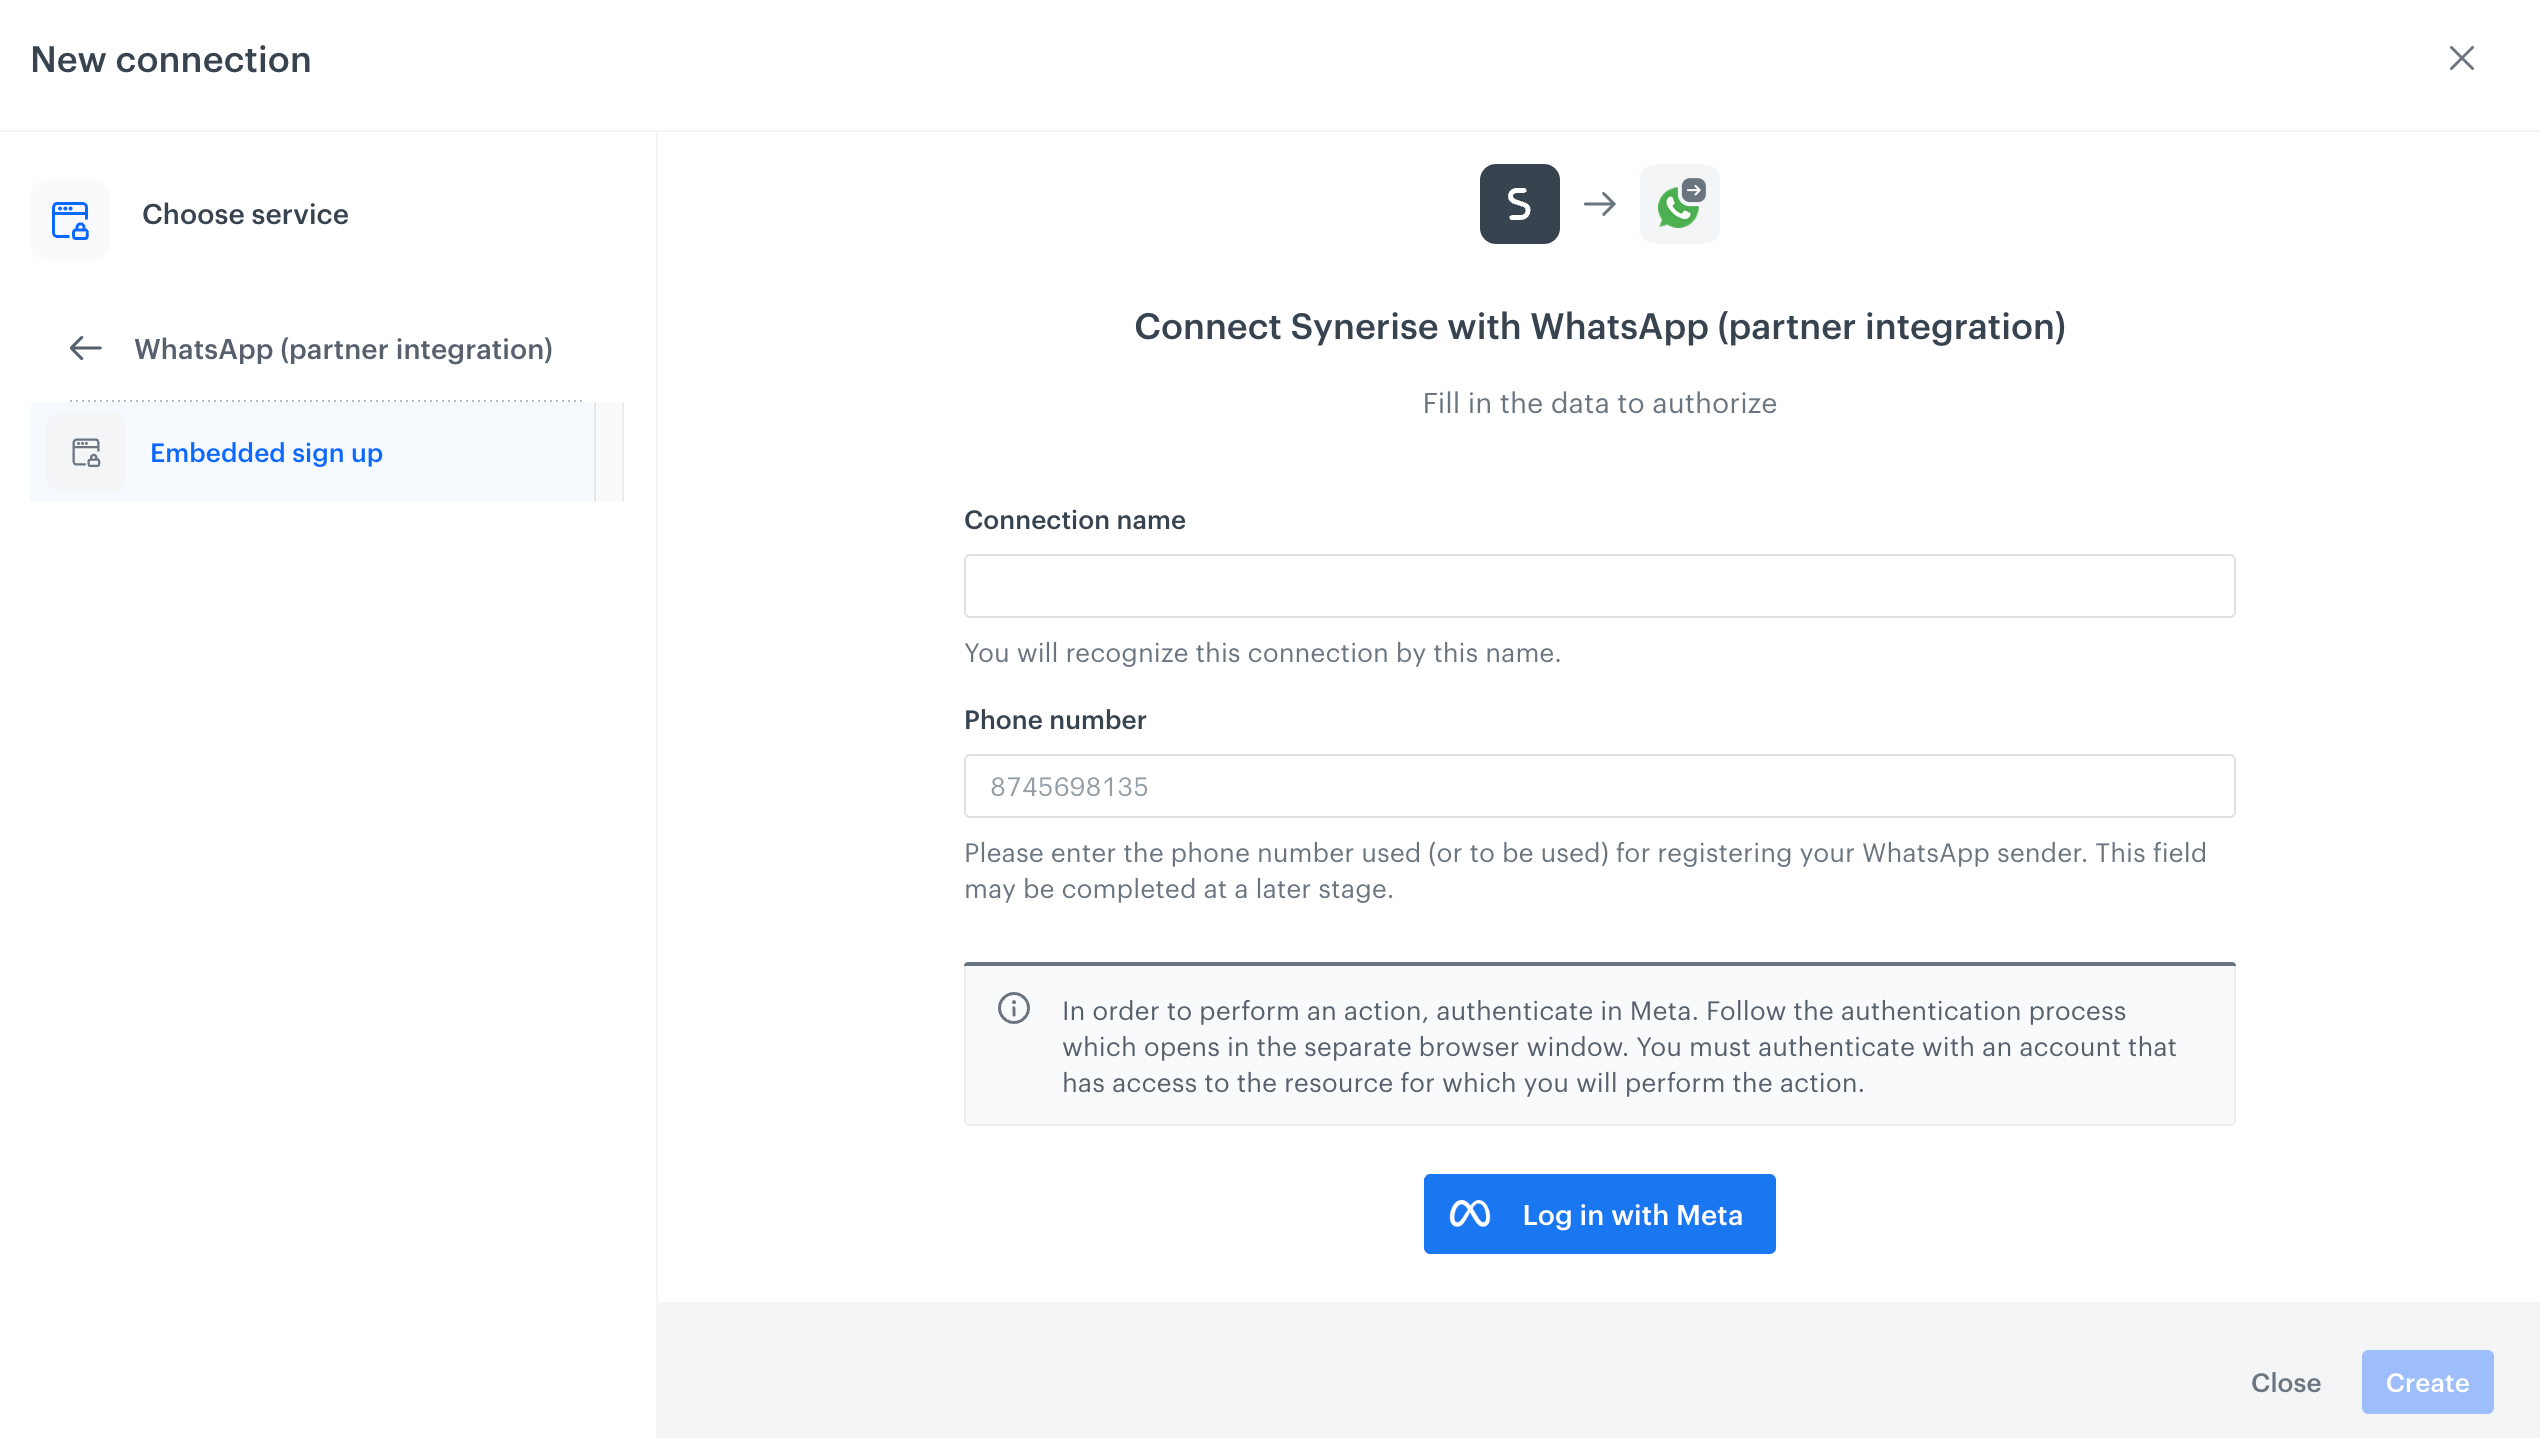
A blank configuration form for setting up a connection with WhatsApp through partner - In the Connection name field, provide the name of the connection.
It will be visible only on the list of connections. - Click Log in with Meta to authenticate through your Meta Business Porfolio.
Result: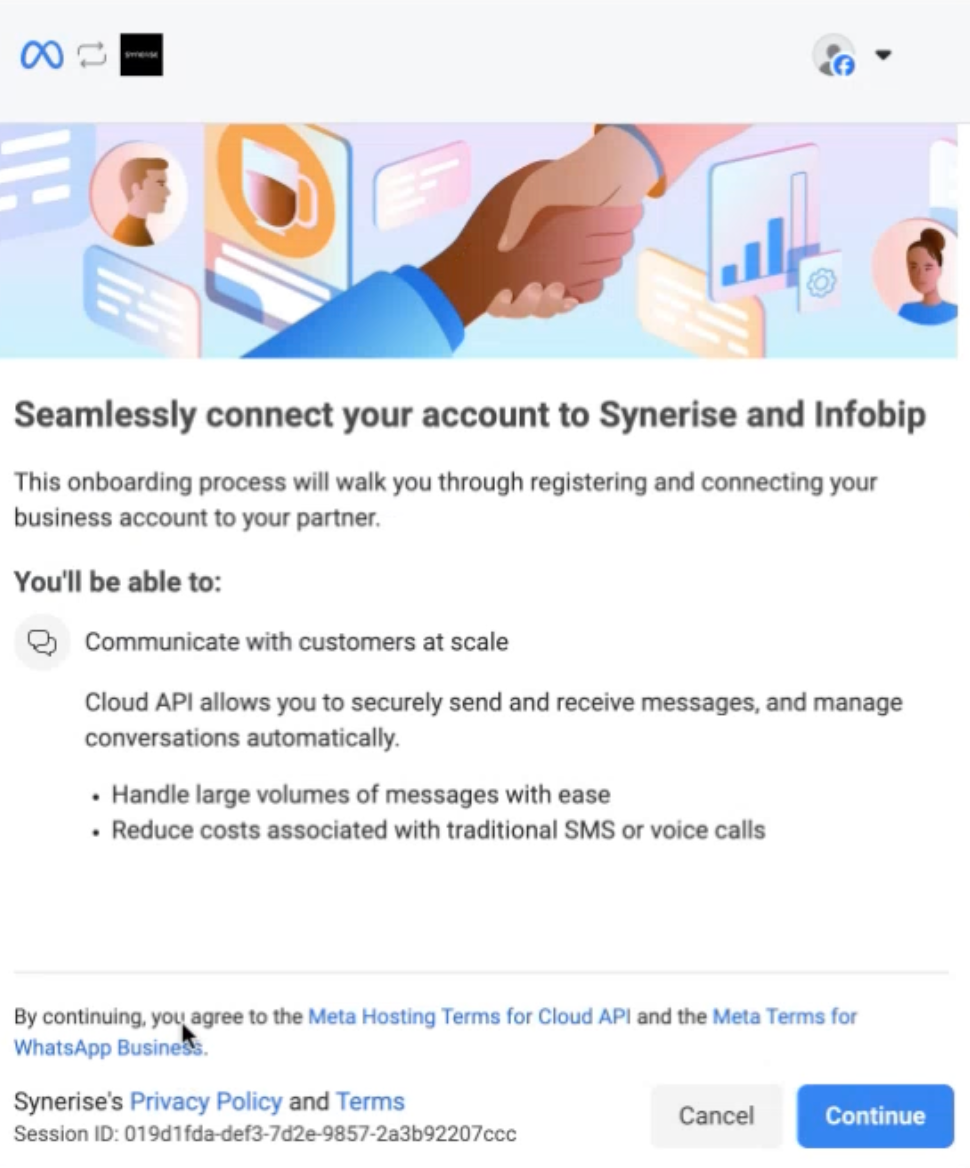
A preview of the first step setting up a connection through Log in with Meta - Review the terms and conditions, then click Continue.
Result: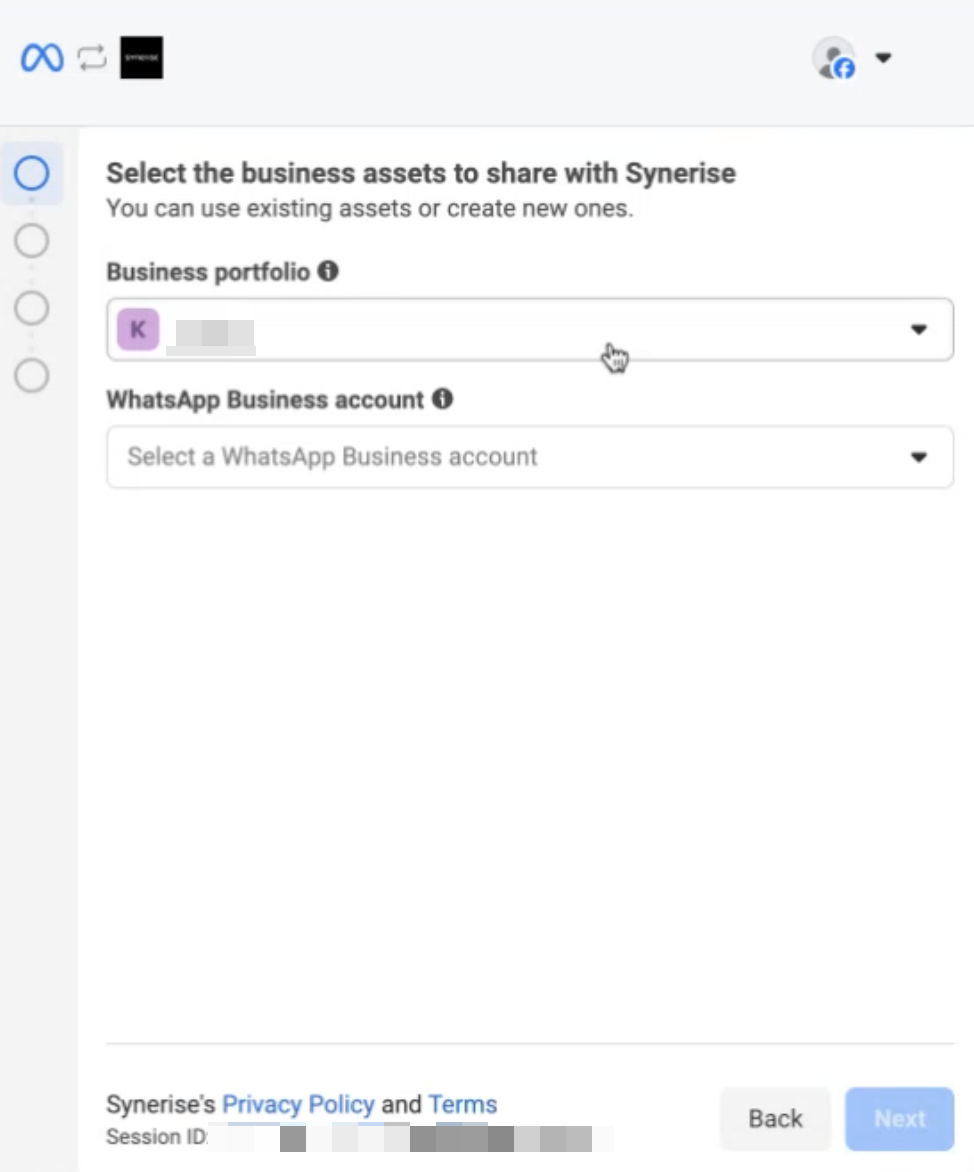
Selection/Creation of business portfolio and WhatsApp Business account - From the dropdown, select the business portfolio to share with Synerise. A business portfolio is a centralized hub for managing Facebook Pages, Instagram accounts, ad accounts, pixels, datasets, WhatsApp accounts, and catalogs. If you do not have a portfolio yet, from the dropdown list, select Create.
- Select or create a WhatsApp Business account. If you do not have a WhatsApp Business account, from the dropdown list, select Create.
- Click Next.
- Add your WhatsApp phone number.
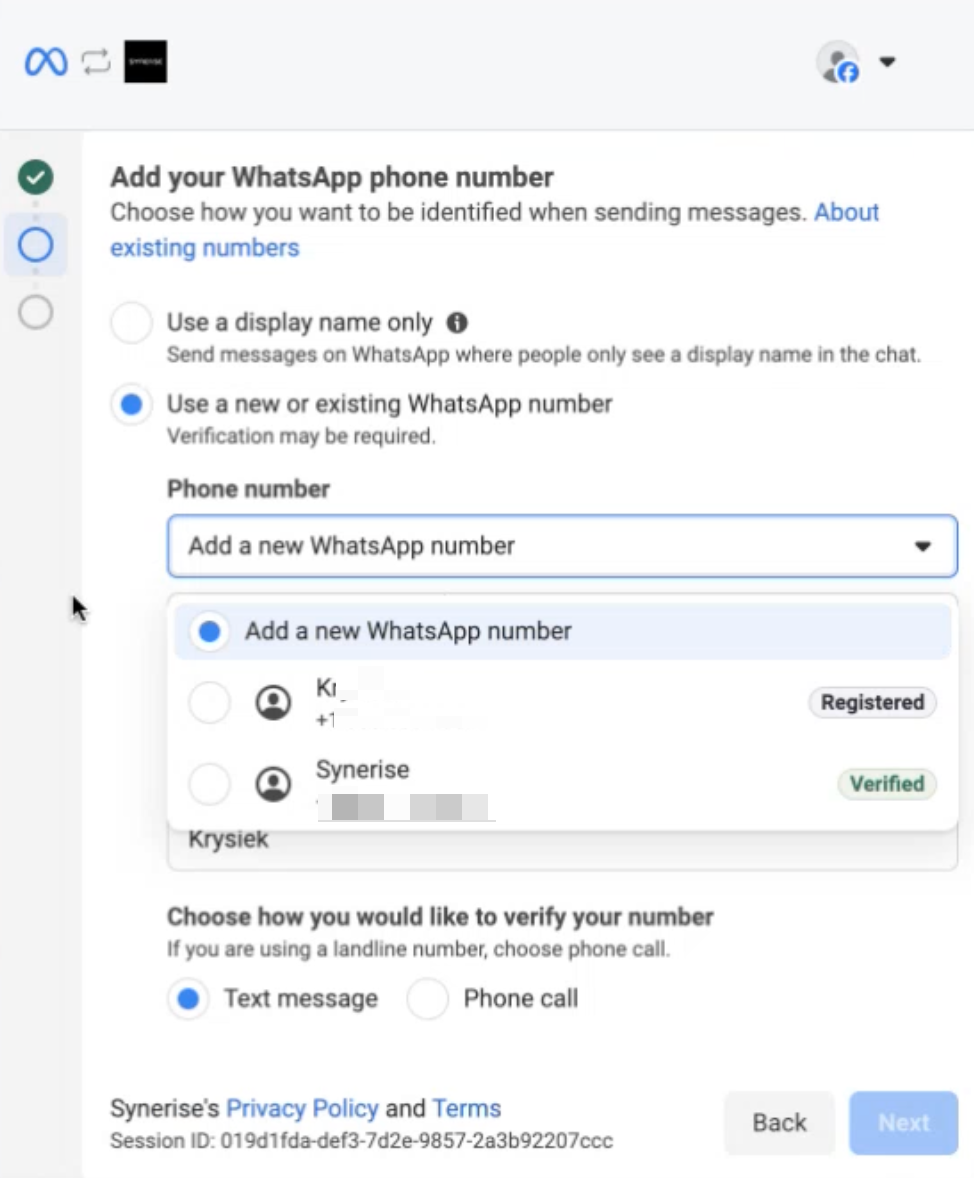
Selecting/Adding a WhatsApp number - Click Next.
Result: The connection between WhatsApp and Synerise is made.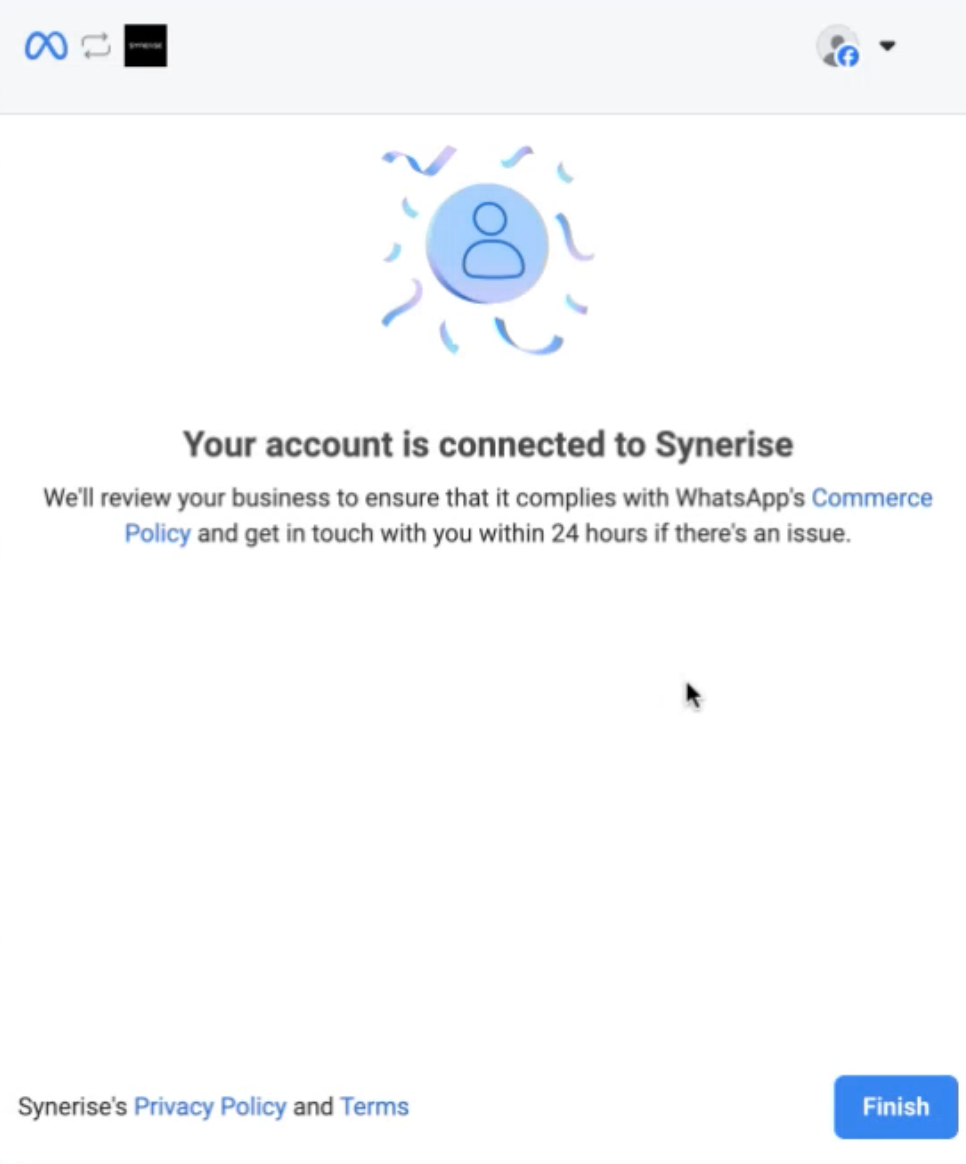
WhatsApp account and Synerise are connected - Click Finish.
Result: You are back to the new connection pop-up in Synerise. - In Phone number, enter the phone number you used for the integration.
- Click Create.
Result: The connection is now ready to use in Synerise workflows.
To configure additional sender settings, see Configuring WhatsApp sender account settings.
Configuring WhatsApp sender account settings
This step is optional.
Some settings that affect how your messages appear to customers — such as the sender’s display name and profile — are managed in Meta Business Suite, not in Synerise. Message templates are also created there, while personalization is added later in Synerise. In Meta Business Suite, you can configure the following:
- Display name: Go to Phone Numbers to edit and submit a display name. Meta requires the display name to accurately represent your business.
- Business profile: Add a profile picture, description (up to 256 characters), address, and website in Settings > Profile.
- Messaging limits: Unverified businesses start with a limit of 250 conversations per day. Verified businesses start with 2,000. These limits can increase based on message quality.
- Multiple phone numbers: You can add multiple phone numbers to a single WhatsApp Business Account (WABA).
For more information, refer to the following Meta resources:
- WhatsApp Business Accounts
- How to register in the WhatsApp Business application
- WhatsApp Business configuration in Meta Business Suite
- Adding WhatsApp numbers to a business portfolio
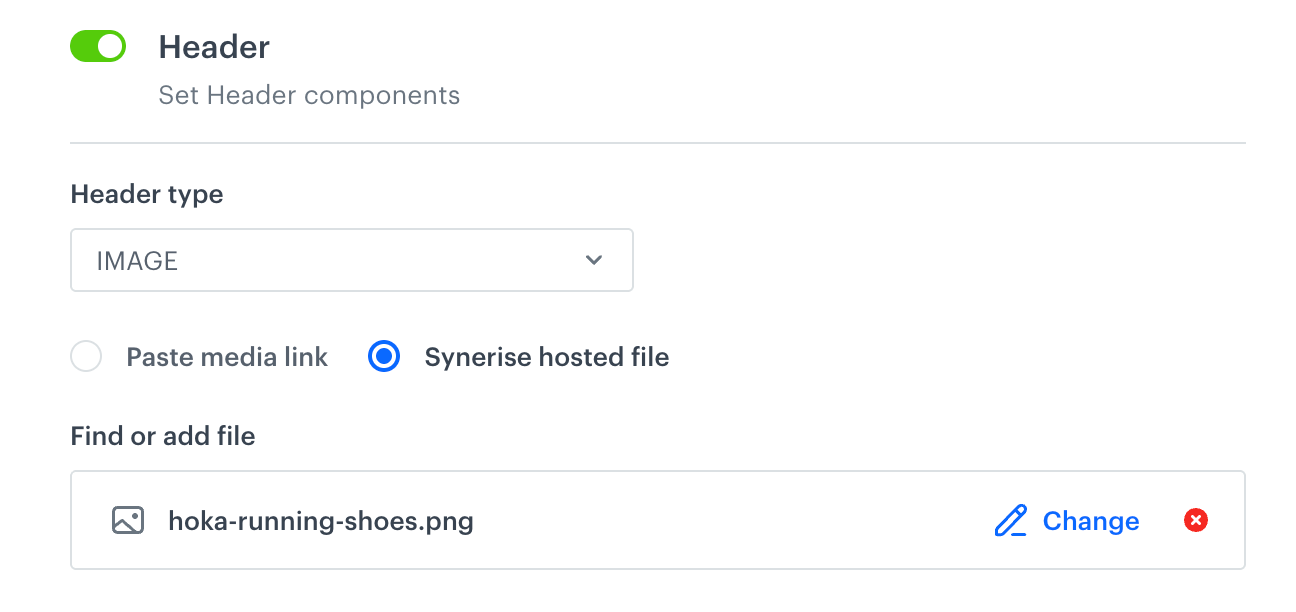
Create a template message in WhatsApp
Message templates define the structure and content of messages sent to customers. You create and submit templates for approval in Meta Business Suite. Once approved, you reference a template by name in the Send Template Message node in Synerise, where you add personalization.
Template requirements
Before creating a template, keep the following in mind:
- Category: must be Marketing (the only category currently supported by Synerise)
- Supported media types for headers: Image, video, document, and location
- Supported button types: All button types except Call on WhatsApp and Call Phone Number
Creating a template
- Log in to Meta Business Suite and go to your WhatsApp Business account.
- Go to Message Templates and click Create Template.
- As the category, select Marketing.
- As the name the template use a descriptive, unique name. You will reference this name later in the Send Template Message node in Synerise.
- Select the language of the message.
- Build the template content:
- Header (optional): Choose a header type — text, image, video, document, or location. Media headers are personalized later in Synerise.
- Body: Write the message text. Use numbered placeholders (
{{1}},{{2}}, and so on) wherever you want to insert dynamic values. - Footer (optional): Add short supplementary text.
- Buttons (optional): Add action buttons. All button types are supported except Call on WhatsApp and Call Phone Number.
- Submit the template for review — Meta will approve or reject the template. Approval typically takes from a few minutes to a few days.
Personalizing the template
Meta supports two variable types: named variables (for example, {{name}}) and numbered variables (for example, {{1}}). Synerise supports only numbered variables.
Body
Use only numbered placeholders in the message body to mark where dynamic values will be inserted. For example:
We found a perfect match for you! New {{1}} is waiting for you!
Where {{1}} is replaced with values defined in Synerise when the workflow runs.
Dynamic values are drawn from customer profiles in your Synerise workspace — for example, a customer’s first name, loyalty points balance, or the name of the last purchased product.
Header media (image, video, document, location)
Select the appropriate header type when building the template in Meta. The actual media — a file URL or a file from Synerise storage — is defined in the Send Template Message node in Synerise.
Buttons
You can add multiple buttons to a template.
To add a button:
- In the Meta template editor, click Add button.
- Fill out the Call to action section.
Tip: You can enter a sample value in Meta. The final value used when the message is sent is defined in the Send Template Message node in Synerise.
For Visit Website buttons:
- The URL can be static or dynamic.
- For dynamic URLs, only the URL suffix (the part after the domain) can be personalized. The domain must be fixed. The dynamic suffix is defined in the Send Template Message node in Synerise.
Configuring the Send Template Message node
- Go to Automation Hub > Workflows > New workflow.
- Use nodes to build an automated scenario.
- As one of the nodes, select WhatsApp (partner integration) > Send a template message.
- Click Select connection.
- From the dropdown list, select the connection.
- If no connections are available or you want to create a new one, see Create a connection.
- If you selected an existing connection, proceed to defining the integration settings.
Define the integration settings
-
In the Content section of the node, configure the following:
- In Template message name, enter the exact name of the approved template from Meta.
- In Language code, select the language of the template. Make sure the template you created in Meta supports the selected language.
-
(Optional) In the Message components, define dynamic values for the template. In each field, you can enter a static value or use the insert button to add a snippet.
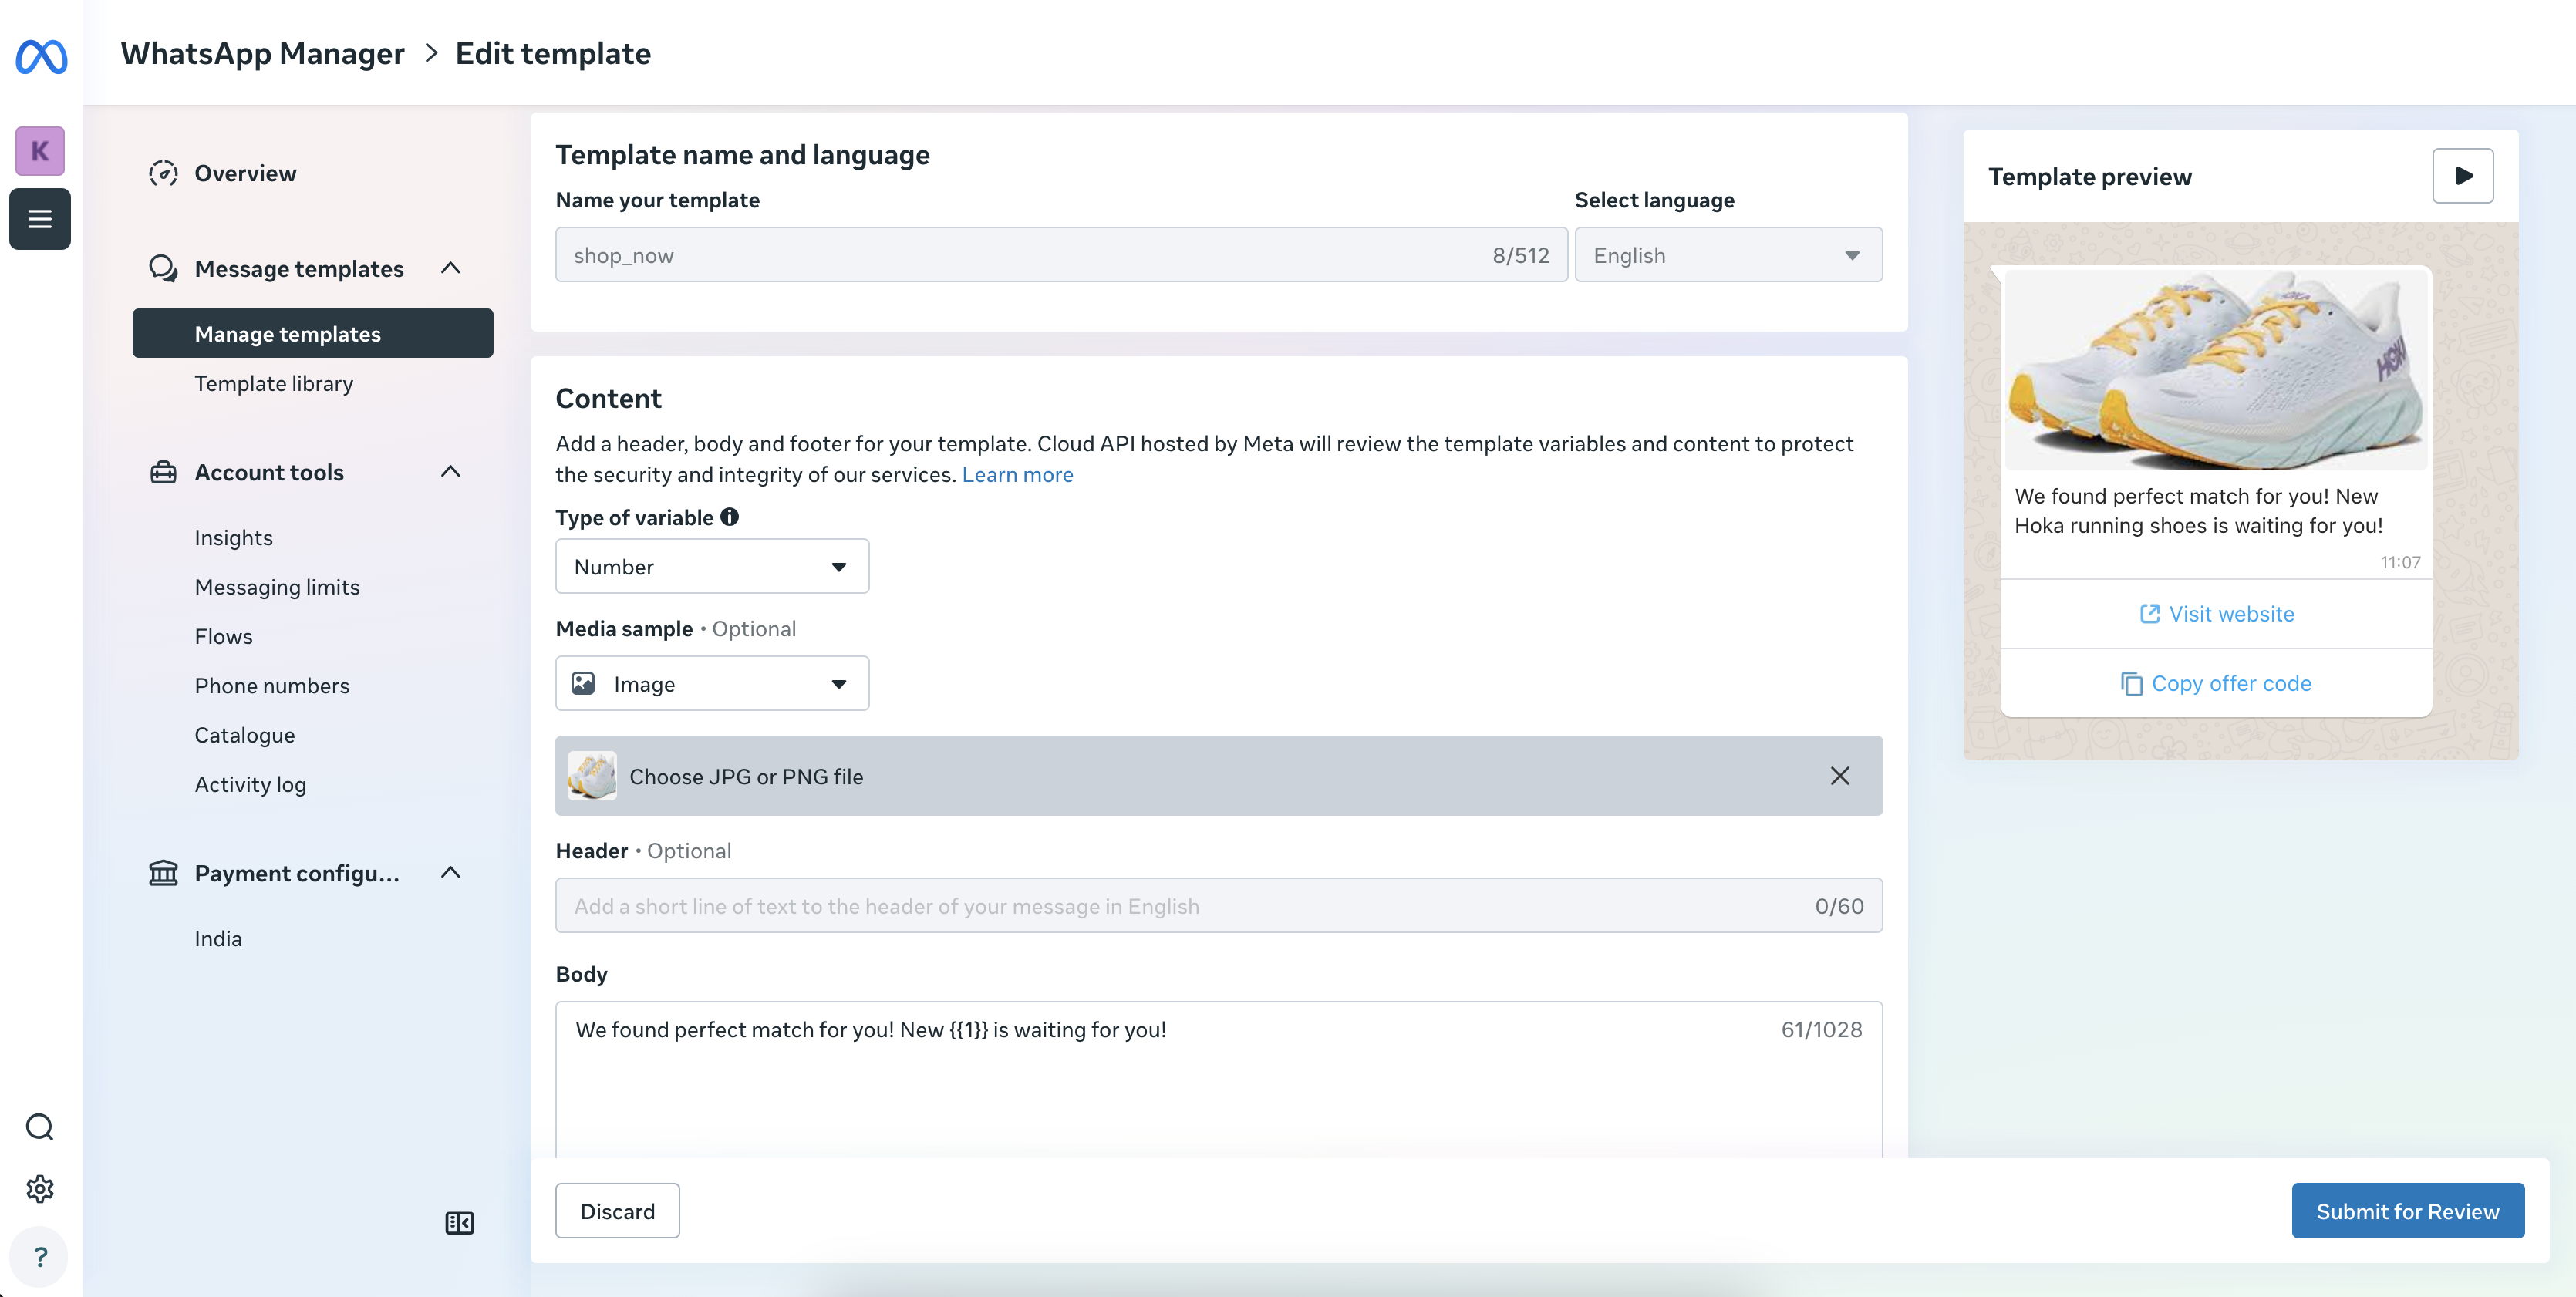
- To define the values for dynamic parameters in the body of the message, enable the Body toggle. Each placeholder from the template (for example,
{{1}}) appears as a separate parameter row. To add more parameters, click + Add parameter.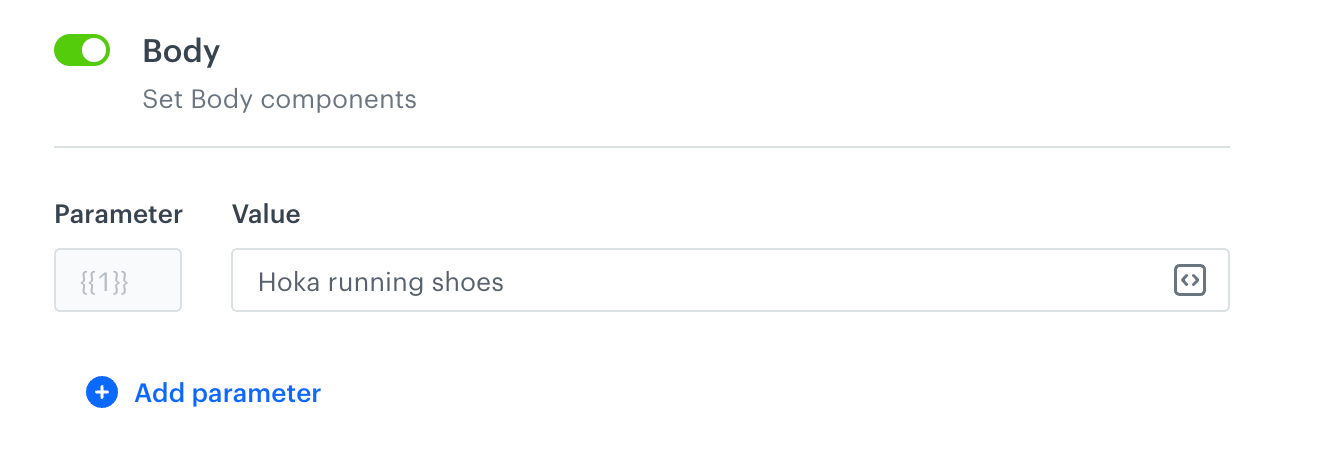
Defining values for variables in the body of the message for the template message - To define the header settings, enable the Header toggle. Select the header type and enter the placeholder value, a link to the media file or select a file from the Synerise storage.
Defining the header settings - To define the personalization of the buttons in the message, enable the Buttons.
Only buttons with dynamic elements appear here — such as Quick Reply, dynamic URL, and Copy Code buttons. Static buttons (for example, a URL without a dynamic suffix) defined in the Meta template do not require configuration and are not listed. Each button appears as a separate entry.
Select the Button type (for example, QUICK_REPLY or URL) and enter the value.
To add more buttons, click + Add button.
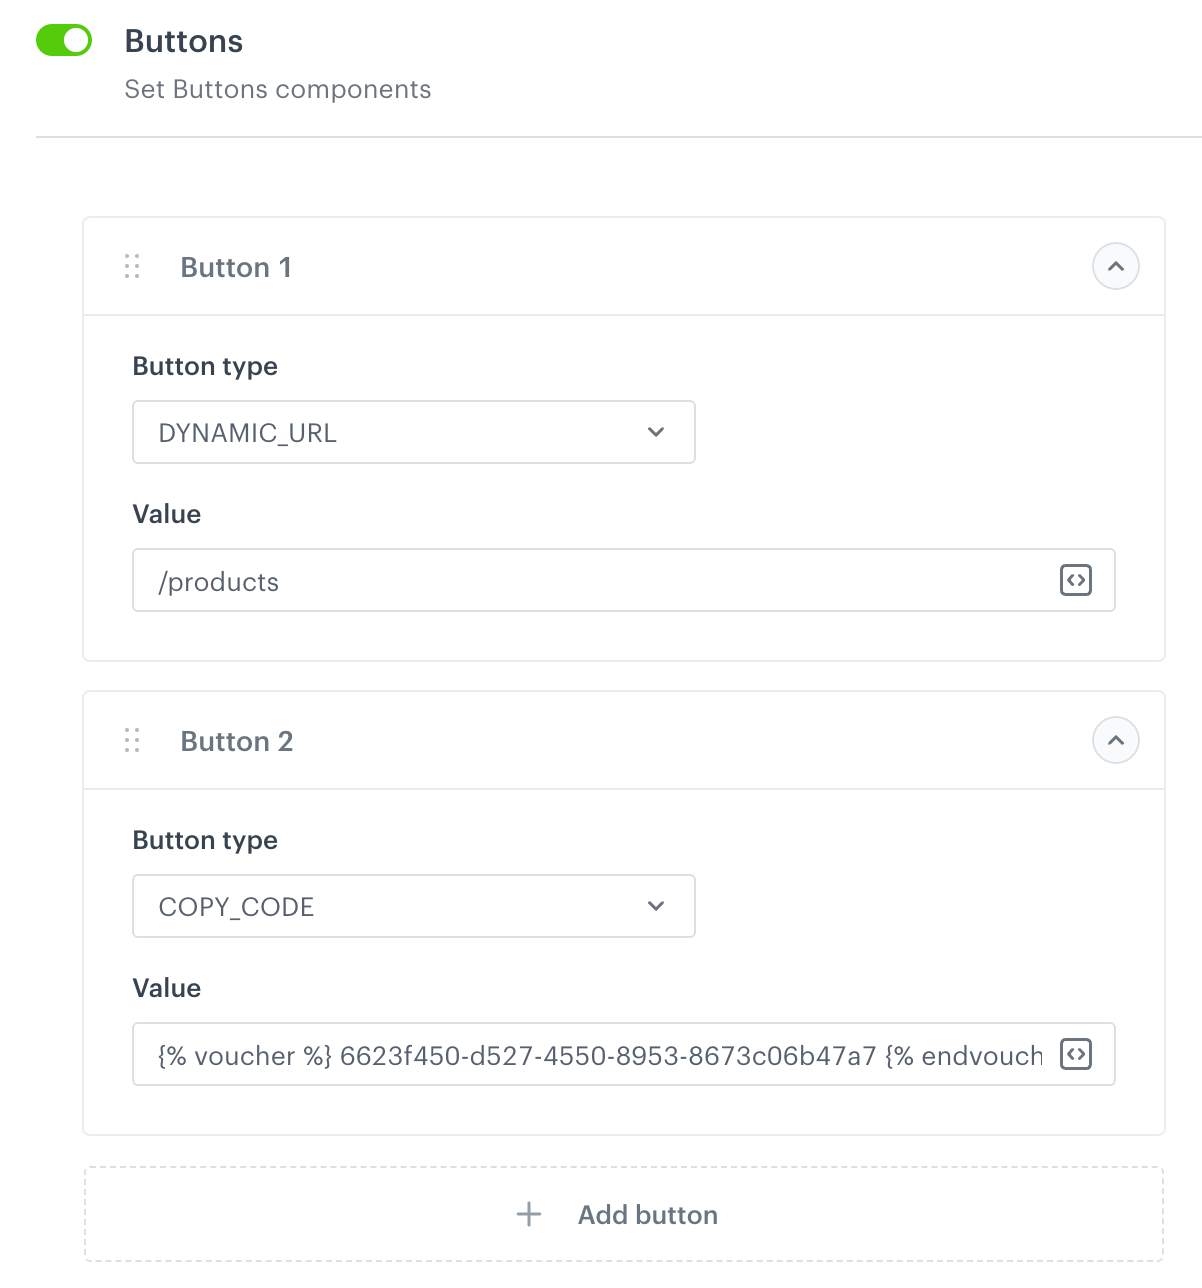
Defining the button settings - To define the values for dynamic parameters in the body of the message, enable the Body toggle. Each placeholder from the template (for example,
-
(Optional) Enable Send without customer consent to send the message regardless of the customer’s consent status for communication through WhatsApp. When disabled, the message is sent only to customers who have given their consent.
-
Confirm by clicking Apply.
Result: When you activate the workflow, execution of the node generates one of the following events: